When working with derived rate plans, you can set different prices for different periods and dates.
In the derived rate plan settings, go to the “Rules for derived price” tab.

The tab consists of two sections: “Rules for derived price”, “General rules”.
Rules for derived price
The “Rules for derived price” section contains a table showing all rules created in the derived rate plan.
Pay attention. A derived rate plan is always created with one main rule. It appears as the first row in the table and is marked with an icon. The main rule is always active and displayed first.
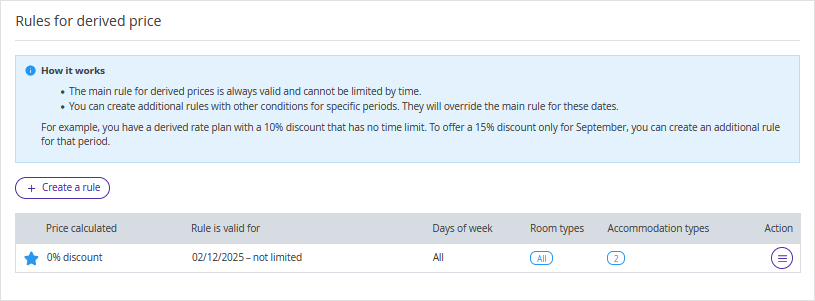
You can create an additional rule with different conditions for a specific period or for the entire period — it will override the main rule for the selected dates.
For example, you have a derived rate plan with a 10% discount with no time restrictions. You want to offer a 15% discount only for September — create an additional rule for this period.
Multiple additional rules will work together if the room types, occupancy types, and weekdays do not overlap.
How to create an additional rule
1. In the “Rules for derived price” section, click “Create a rule”.
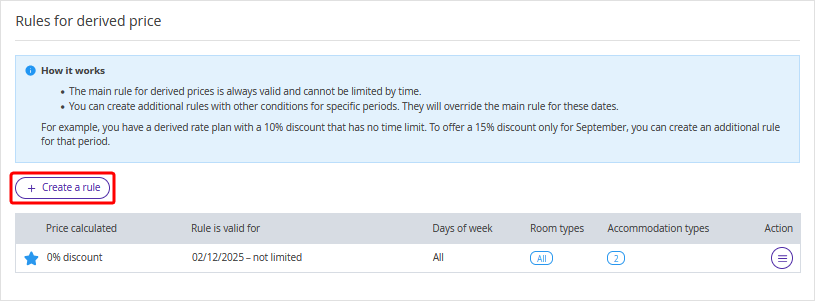
A “Create rule” window will be opened on the right.
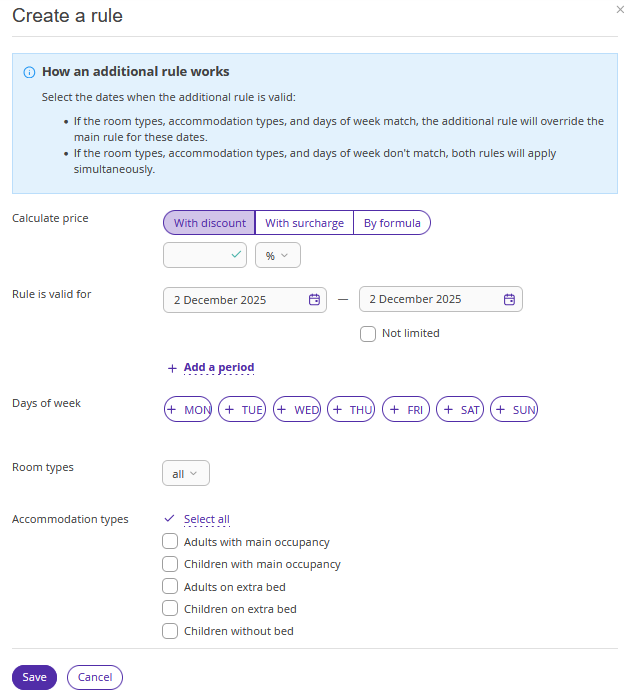
2. Select the calculation type:
With discount
With surcharge
By formula.

If you select “With discount” or “With surcharge”, set a percentage or a fixed amount.

If you select “By formula”, you can use a calculation template.
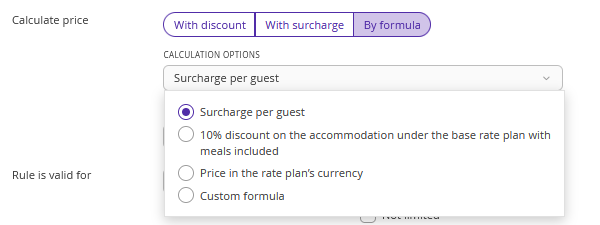
When selecting a template, the corresponding formula is applied. Adjust the amount in the formula as needed.
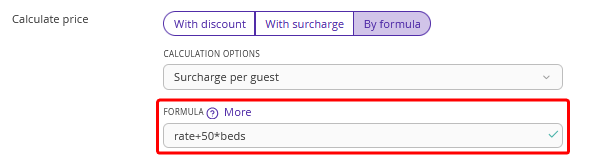
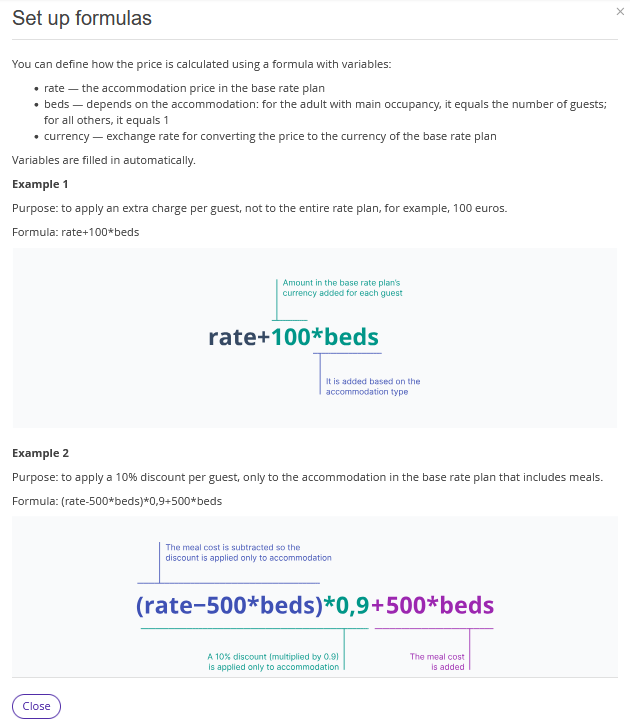
To read about how to work with formulas, click the “More” link.
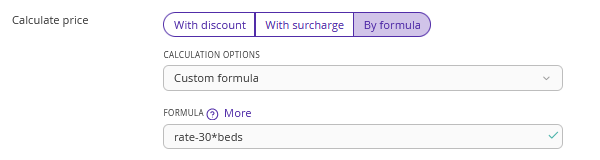
You can also add your own formula.
3. Set the validity period for the rule.

You may add multiple periods, if needed.
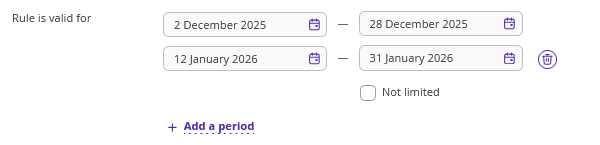
Pay attention. When an additional rule is created, its creation date is automatically used as the start date for the validity period.
4. In the “Weekdays” section, select the weekdays on which the rule will be applied for the period.

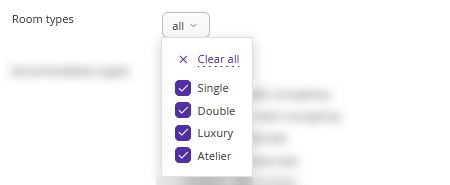
5. In the dropdown list, select the room types to which the rule will be applied.
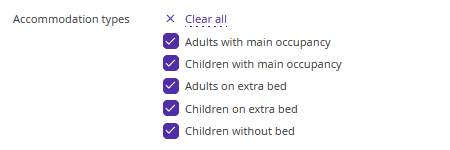
6. Select the occupancy types.
7. Save the settings.

An additional rule cannot be saved, if the validity period, weekdays, room types, and selected occupancy types overlap partially or fully with another rule.
For example, one rule is applied to Friday, Saturday, Sunday to all room types and occupancies, and another rule is also applied to all room types and occupancies for all weekdays including Friday. The second rule will not be saved because they overlap. If you exclude Friday from the second rule, it will be saved.
The created rule will appear in the “Rules for derived price” table.

You can edit or delete created rules in the rate plan.

General rules
1. Tick check-boxes for the settings that should be derived from the base rate plan:
Extra services,
Restrictions,
Early check-in and late check-out rules,
Payment methods.
Pay attention. In the “Extra services”, “Early check-in and late check-out rule”, and “Payment methods” points, you can see which settings are configured in the base rate plan and decide whether you want to derive them.

2. Click the “Save” button at the top of the page.