Widgets are small applications that show information or perform certain actions. They are often used on smartphone screens, social networks, browsers, and computer desktops. For example, widgets can display a clock, weather or calendar.
Exely Booking Engine has widgets too. They help to increase sales on the property website: attract guests, offer discounts, and special accommodation conditions.
How to create a widget in the Exely extranet
1. Go to “Booking Engine” > “Widgets”.
In this section, you manage the widgets:
create;
edit;
publish;
disable;
delete.
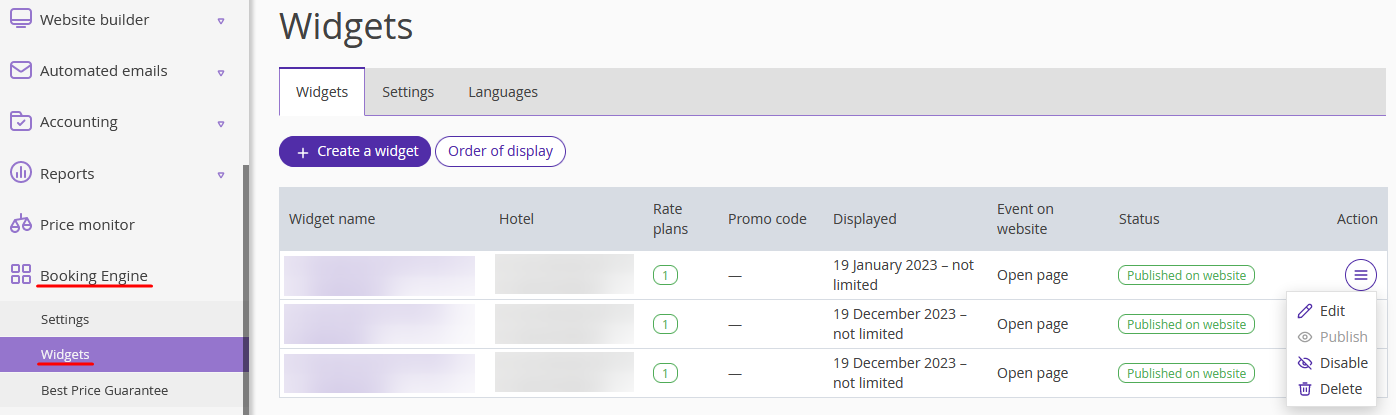
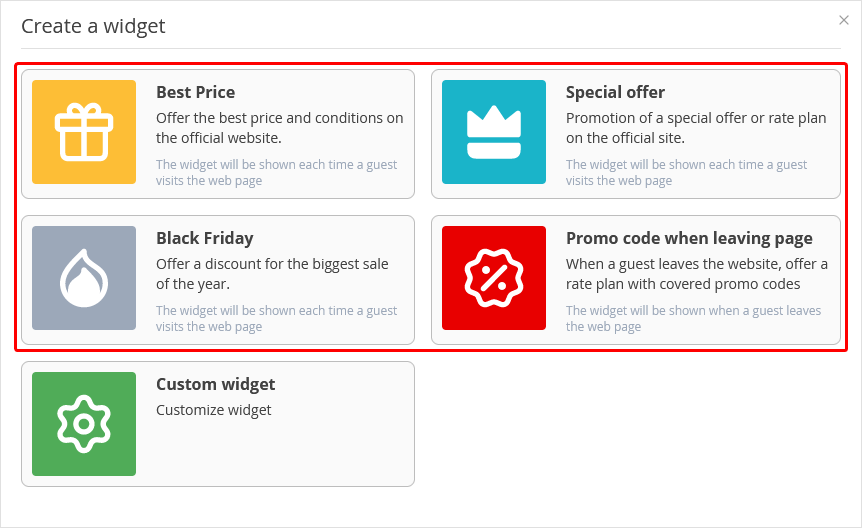
2. Click “Create a widget”.
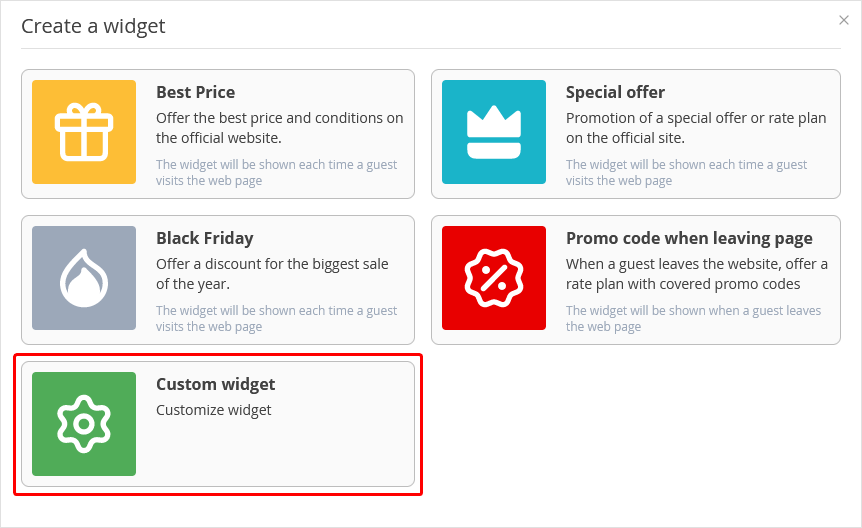
We have analyzed the most effective ways to draw guests' attention and created several widget templates:
Best Price — offer a lower price on the official website than other sales sources.
Special offer — create a special rate plan with certain conditions. For example, a discount for booking 30 days before arrival.
Black Friday — create discounts for seasonal sales.
Promo code when leaving website page — offer the guest a closed rate plan with a promo code when they try to leave your website without booking.
Or create a custom widget.
How to create a widget using a template
In the “Booking Engine” > “Widgets” section, click “Create a widget” and select a template.
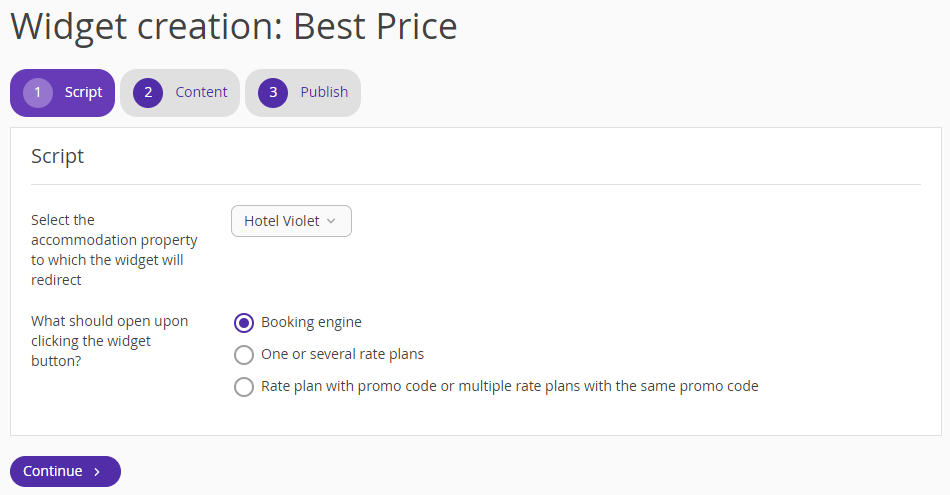
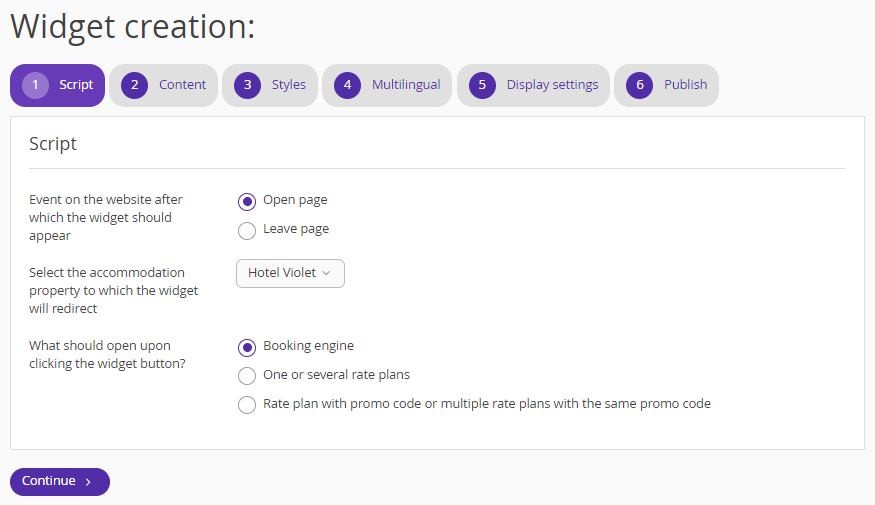
1. Set a script.
If you have several hotels, select which one will be linked to the widget. Select what should be opened when clicking on the widget — booking engine or particular rate plans.
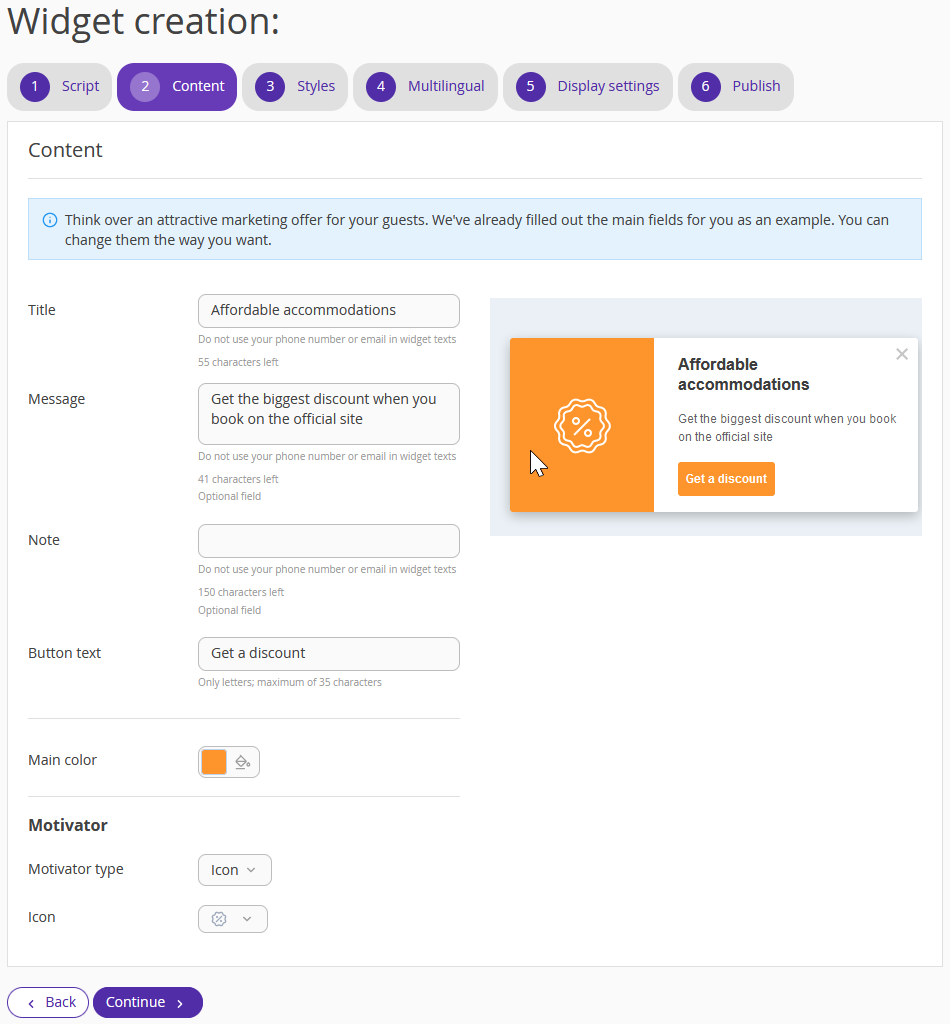
2. Add content.
Edit widget texts and look at its preview on the right side.

Select the color using the color palette.
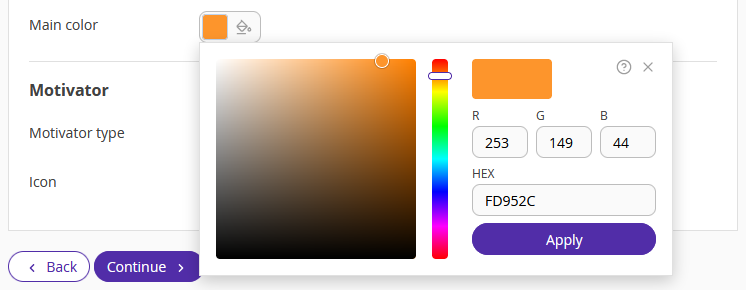
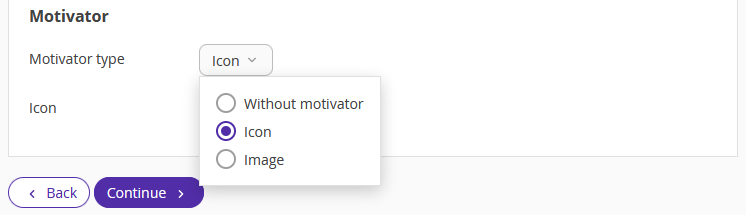
Select an icon for the motivator or use an image.
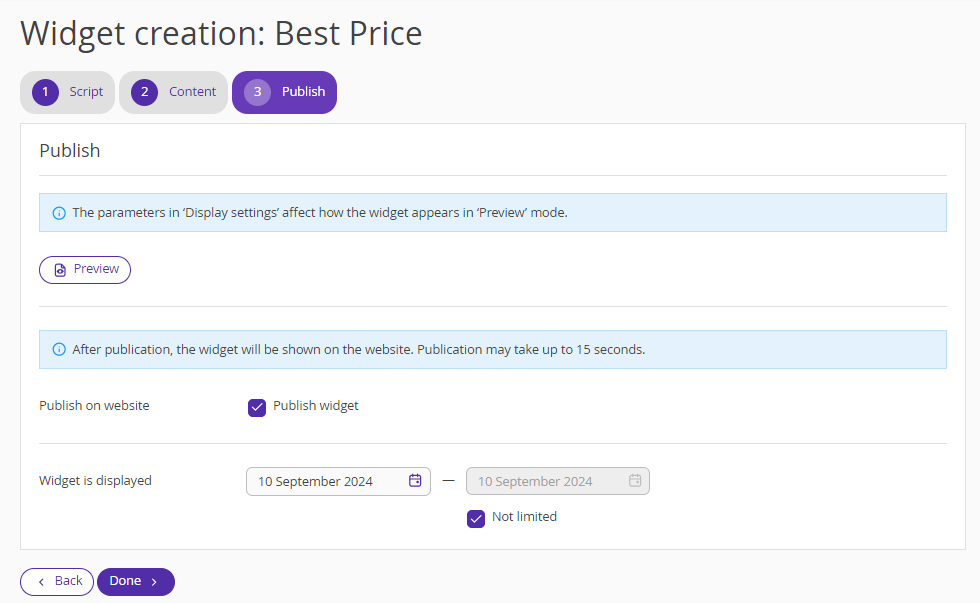
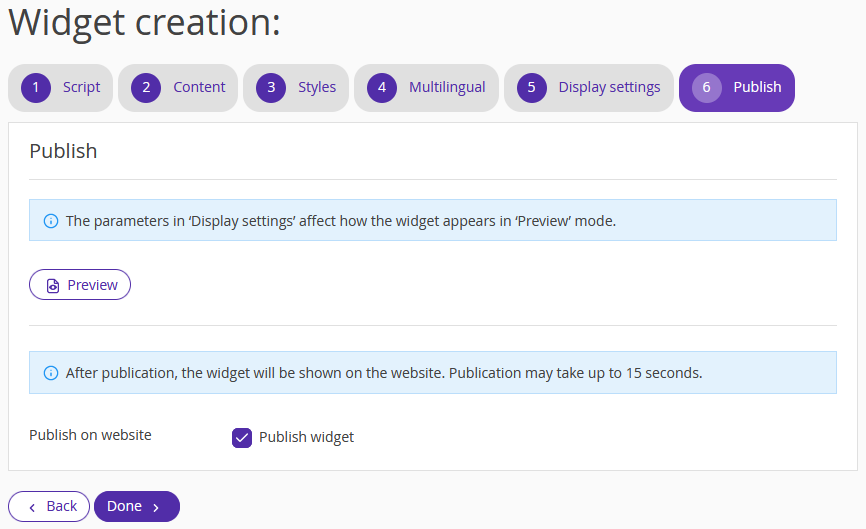
3. Publish the widget.
Click the "Preview" button to look at the widget before publishing it. If the result works for you, tick the "Publish widget" check-box and click "Done".
In the editing mode for a widget created by a template, the settings available when creating a custom widget are opened.
How to create a custom widget
If you have a new idea for attracting guests using a widget on your website, create a custom widget.
The Widget Creation Wizard contains more settings than the template one. Let's take a closer look at additional settings.
1. Set a script.
Select when visitors will see the widget — once they open the page or when they are about to leave it.
2. Set the content.
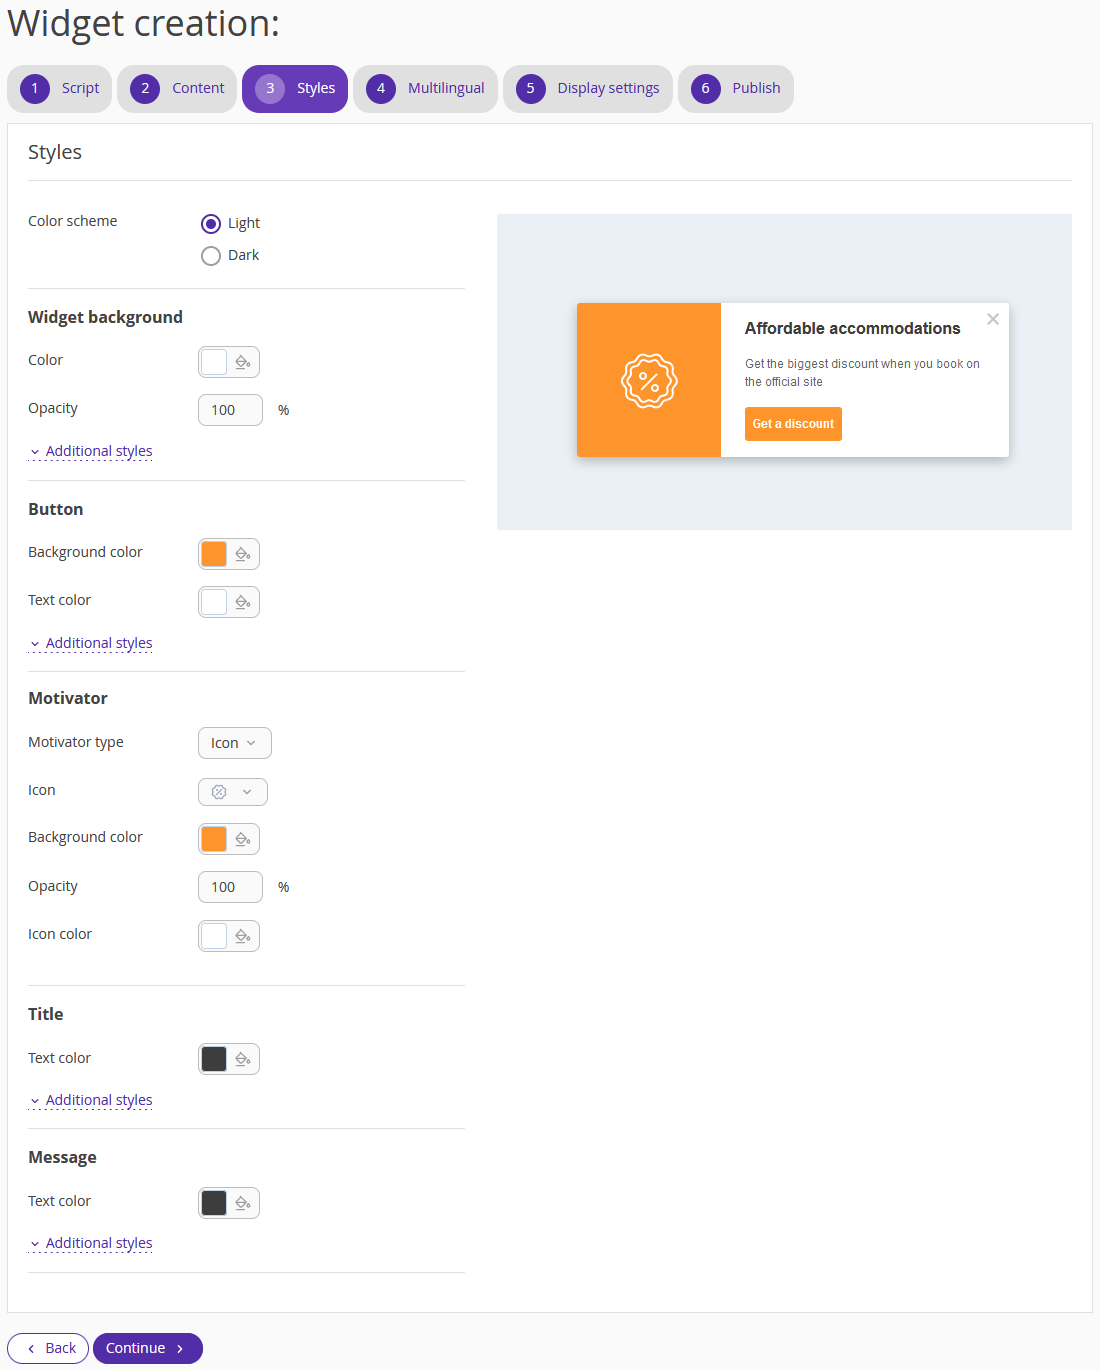
3. Set the style.
Using styles, you can create a unique widget on your own. Select:
color palette;
colors and opacity;
button, heading and message text fonts;
angles and shadows of the button;
motivator type.
If you select the “Image” motivator type, upload an image from your computer. The maximum file size is 4 MB.
When uploading an image, note that the widget size is 440×206 pixels; the image size should be 144×170 pixels.

4. Add translations into foreign languages.
Language settings are available after creating and saving the widget — you need to add language versions of the website in the settings. After that, you will be able to translate texts of the widget content.
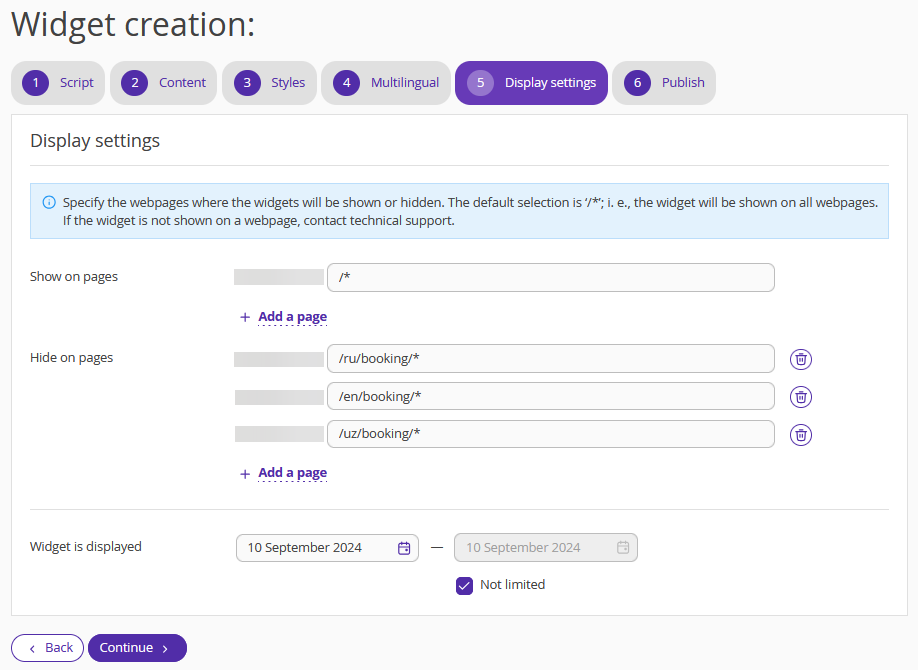
5. Set widget display on the website. Specify the pages where you want to display the widget, and a period when the widget will be displayed.
6. Publish the widget.
Add website language versions
If your website has several language versions, switch to the "Languages" tab and add all required language versions, providing links to booking engines in every language.
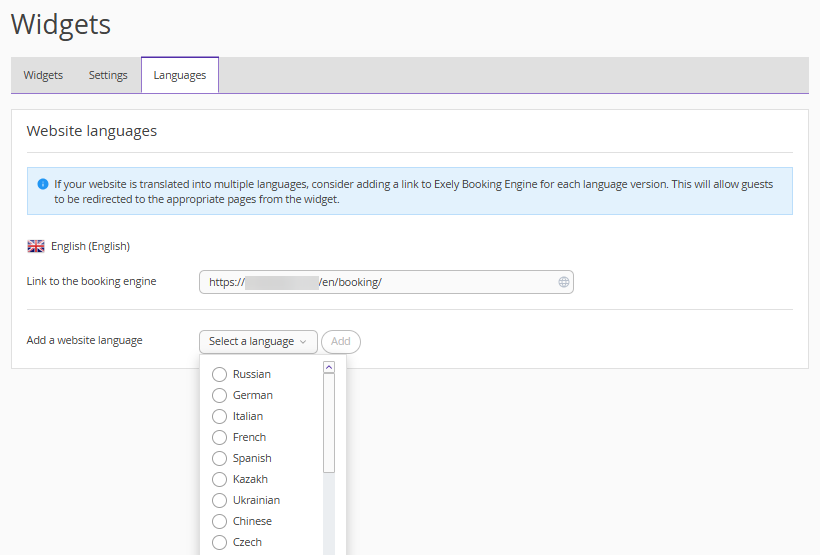
The widget will send the guest to the addresses you specify.
When you add a language version, a setting will appear on the "Languages" tab that allows you to translate texts automatically.
Pay attention. Translations are performed using AI. Make sure to verify the quality and suitability before publishing.

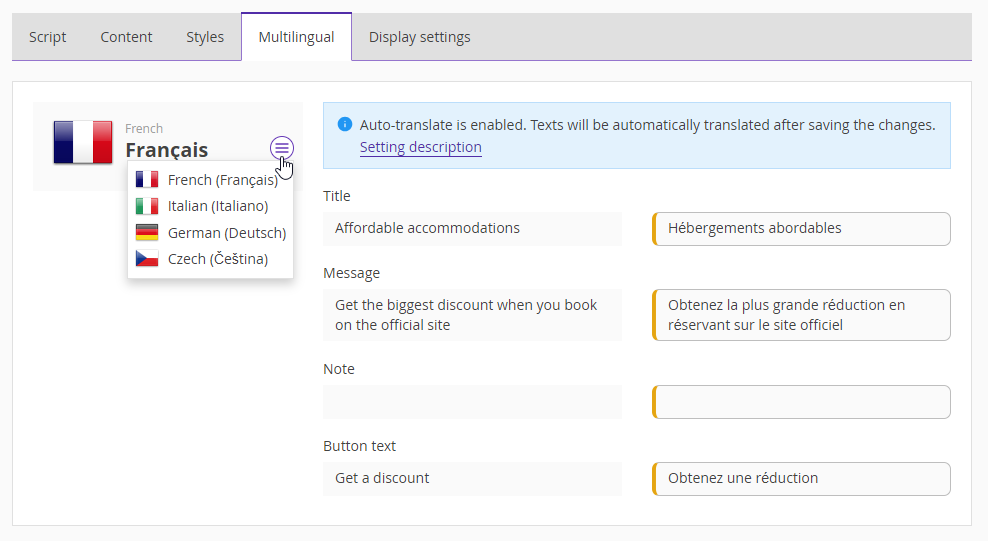
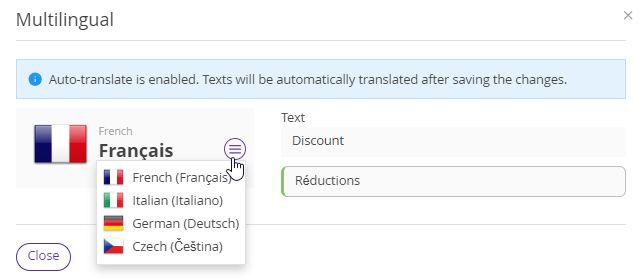
Click the required widget in the list and switch to the “Multilingual” tab.
Click the icon with three horizontal lines to select the translation language. Widget texts will be automatically translated. Check the translations, make changes, if necessary, and save.
Note:
Confirmation of translation — the buttons are shown if you click the translation field. The tick button is used to confirm the translation, the cross button cancels the changes.

The orange mark Indicates that the translation is missing or has been made automatically but is not yet confirmed.

The green mark indicates the translation is confirmed.

Set mobile-friendly widgets
When you create a widget, a mobile-friendly version of it is created automatically. Widgets for the mobile version of the website are adapted for mobile devices and have additional parameters.
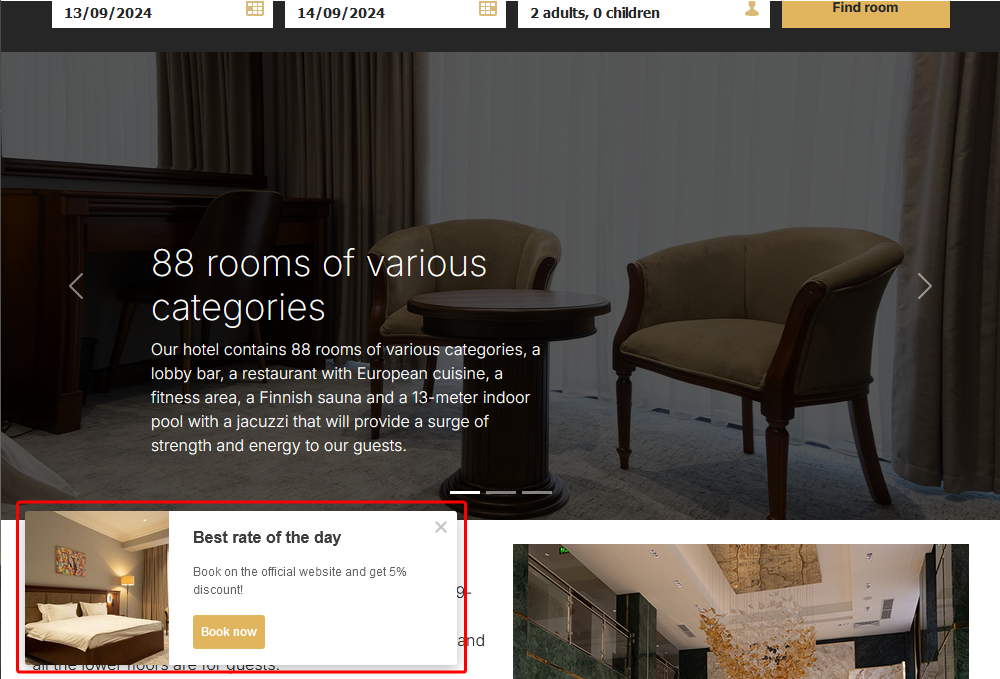
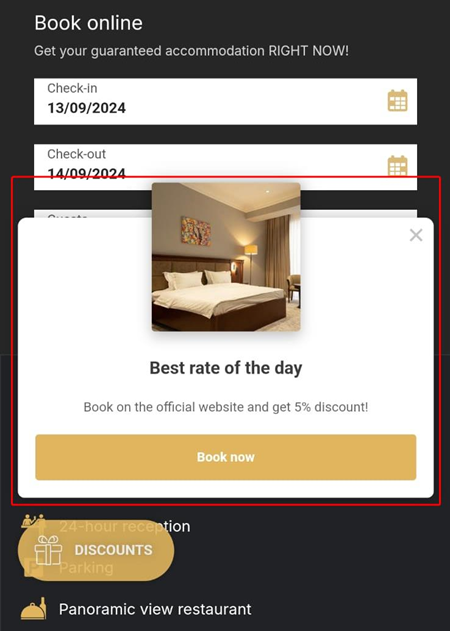
Before viewing the widgets, the guest will see a button in the form of an icon. After a few seconds, a motivational text will appear on the button.
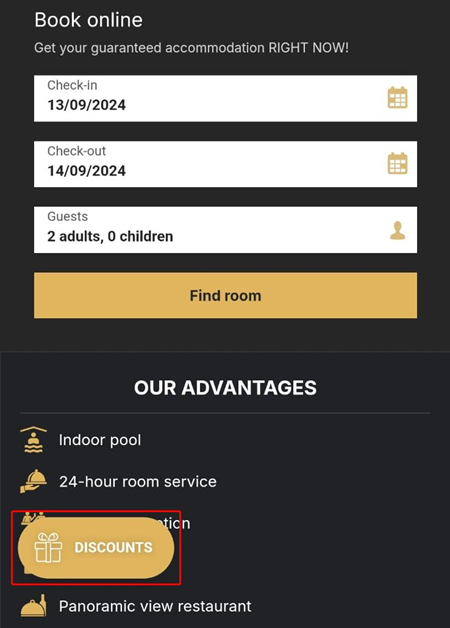
If a guest clicks the button, they will see the widgets, be able to scroll through them and select the preferred offer. The number of offers depends on how many widgets are configured to be displayed on a particular page.
On mobile devices, widgets are shown to the guests only when they enter the page.
How to set a widget for mobile version of the website:
1. Go to “Booking Engine” > “Widgets” > the “Settings” tab > “Go to page widgets”.
The “Show in mobile version of website” check-box is ticked by default, if you already have widgets. If you prefer to disable widgets on the mobile version of your website, untick this check-box.
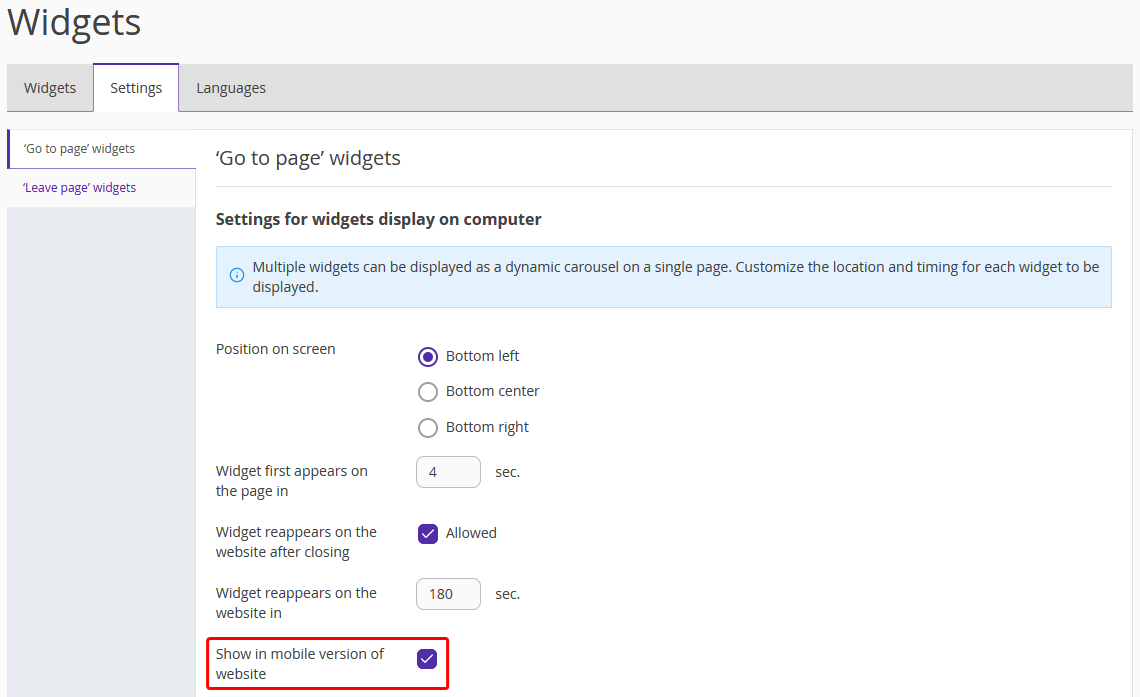
Note. If the display of widgets on mobile devices is switched off, automatic translation of texts does not take place.
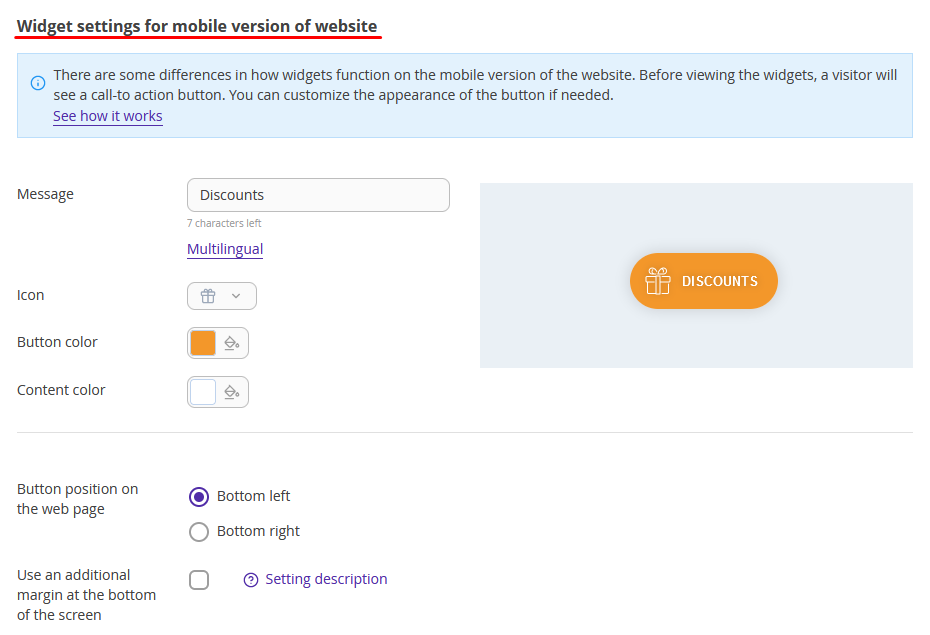
2. In the “Widget settings for mobile version of the website” section:
Add the message to be shown on the button.
Select the icon and colors.
Set the widget position.
If you have added foreign languages, the "Multilingual" link will appear in the “Settings” tab > the “Widget settings for mobile version of the website” section.
If you click the link, a "Multilingual" window will open with the translated text.
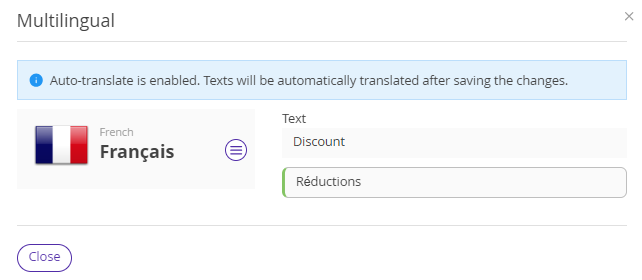
You can translate text into the languages you added on the “Languages” tab.
Check the translations, make changes, if necessary, and save.