To start working with a default rate plan, create and set seasons.
Step 1. Create and set seasons
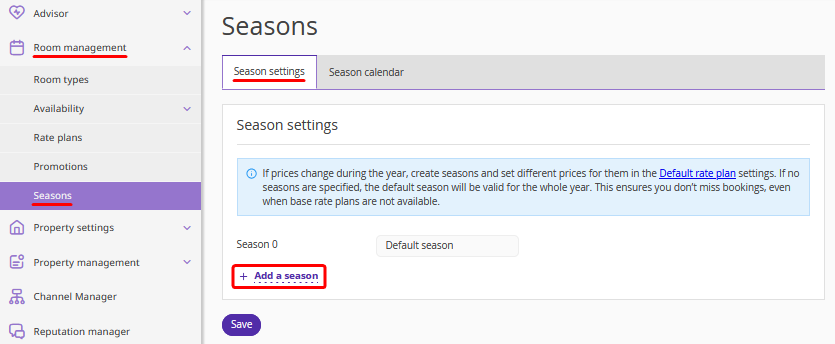
In the Exely extranet, go to the “Room management” > “Seasons” section > the “Season settings” tab. By default, one season is created that covers the entire year. It cannot be deleted or renamed — the “Default season”.
Click the “Add a season” link and create additional seasons, if required (for example, peak season, low season, etc.).
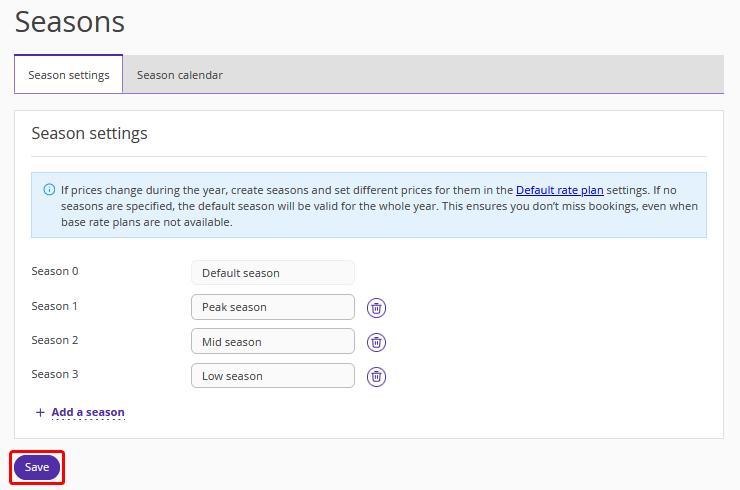
When all required seasons are created, click the “Save” button.
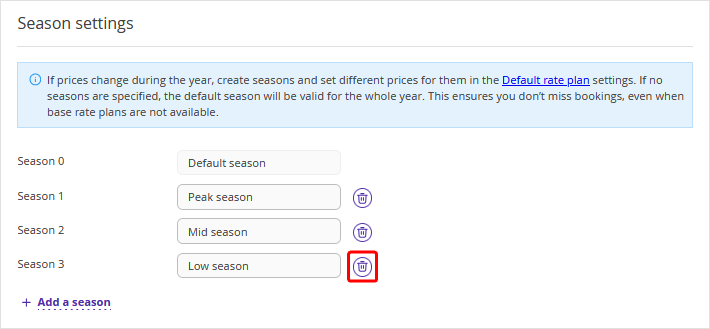
To delete a season, click the icon on the right of the season.
Pay attention. Even if you do not create any additional seasons, the default season is applied to the entire year. You only need to set prices for the default season.
Step 2. Set season periods
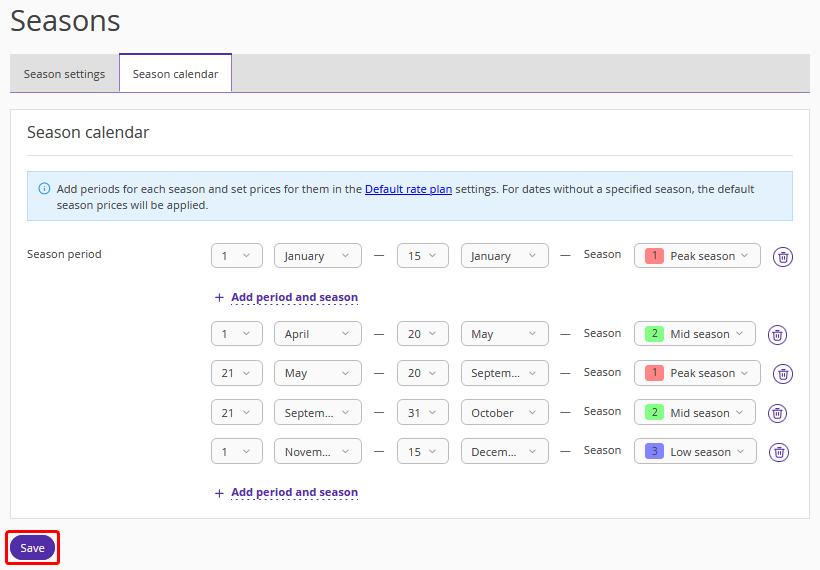
Switch to the “Season calendar” tab and click the “Add period and season” link to create periods for each season.
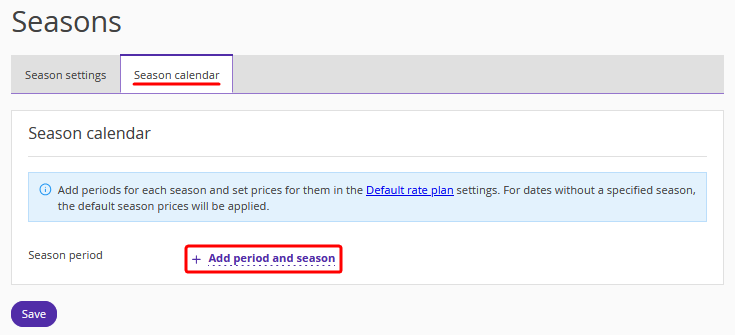
In the opened fields, select dates and a period that will be applied to the period. When all required periods are added, click the “Save” button.
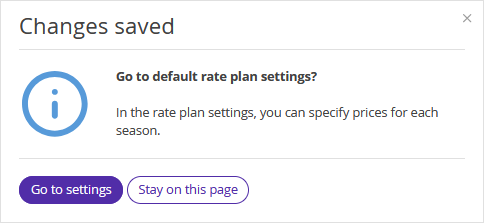
A window will pop up prompting you to proceed with creating the default rate plan. Click the “Go to settings” button to immediately create the default rate plan. Or select “Stay on this page” to continue working with periods.
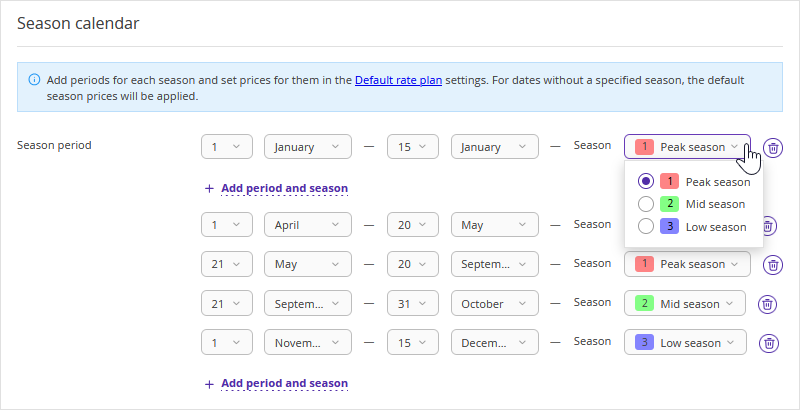
You can change the period dates and season, if required.
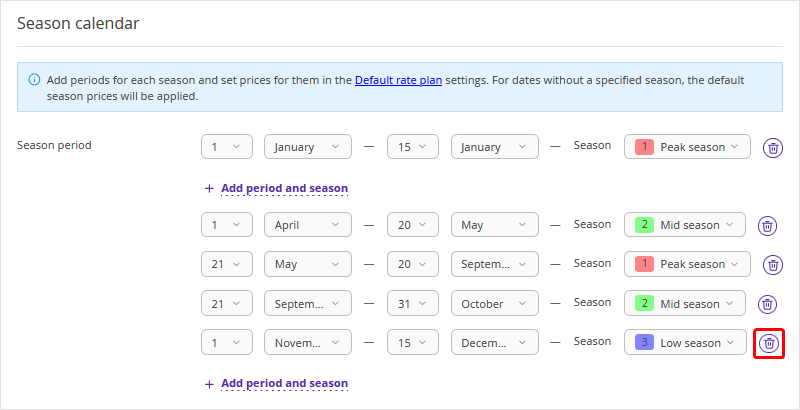
To delete a season period, click the icon on the right of the period.
After making any changes to the season periods, click the “Save” button.
Pay attention:
The created periods will repeat annually on the selected dates.
Periods do not overlap.
If there are dates between periods that are not covered by any season, the default season will be applied to those dates.
The period can be adjusted at any time, and the changes will affect all future dates.
After the seasons are created and set, create the default rate plan.