The "Reputation" → "Settings" section helps you configure the Exely Reputation Manager solution according to the necessary parameters.
Manage reviews in sources
1. In the “Collect reviews from sources”, select reviews of which period of time you want to collect from the online review platforms. This parameter sets the period for collecting customer reviews from source websites. By default, Exely Reputation Manager derived reviews that have ever been written.
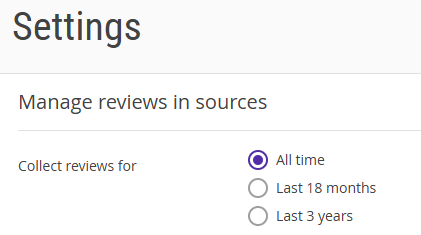
If you select the “Last 18 months” option, then, the reviews posted before this period of time are not going to affect the overall rating in the website widget.
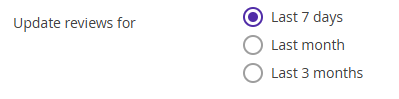
Select the review update period. This setting sets the update period for reviews that exist on the source sites.
Post reviews on a website
In the “Post reviews on a website” section, select mode for posting.
- If "Manually" option is selected, the uploaded reviews will be stored in the "Reputation" → "Reviews" section. Manually publishing reviews allows you to select specific reviews to be published in the widget on the hotel's website.
- If you select the “Automatic” mode, reviews will be automatically posted on a website without preliminary processing. You can select, what reviews should be posted — all reviews or reviews with rating starting from a specific rating.

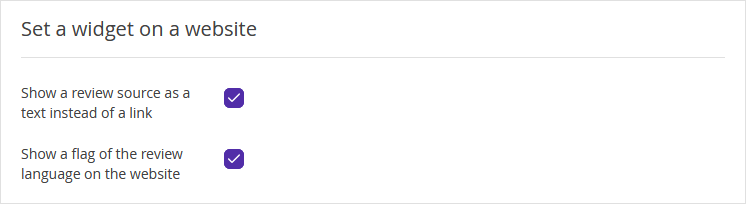
Set a widget on a website
The "Set a widget on a website" settings determine how the reviews will be displayed in the widget.
If you want a review source to be shown with the link leading to the review, tick the "Show a review source as a text instead of a link" check-box.
- We recommend specifying the source text without a link. This reduces the likelihood that a guest will accidentally leave your site for a partner's site.
To have a flag of the review language shown on your website, tick the "Show a flag of the review language on the website" check-box.
Notification settings
In the “Notification settings” section, you can set notifications of negative reviews and the overall ratings going up or down. The notifications will be sent to the email you indicate in the setting. If necessary, indicate several emails by clicking on the “Add an email” button.

Select how often you want the notifications to be sent: once a day or once a week, and at what time.