To use Exely Price Assist, set a dynamic rate plan. Dynamic rate plans have one difference compared to ordinary rate plans: their prices are not set manually. Prices for the dynamic rate plan are pulled from a base rate plan, each one of which stands for a specific rate level.
To set rate levels, go to “Price Assist” > “Settings” > “Recommendations”. Open the “Price levels and occupancy intervals” tab.
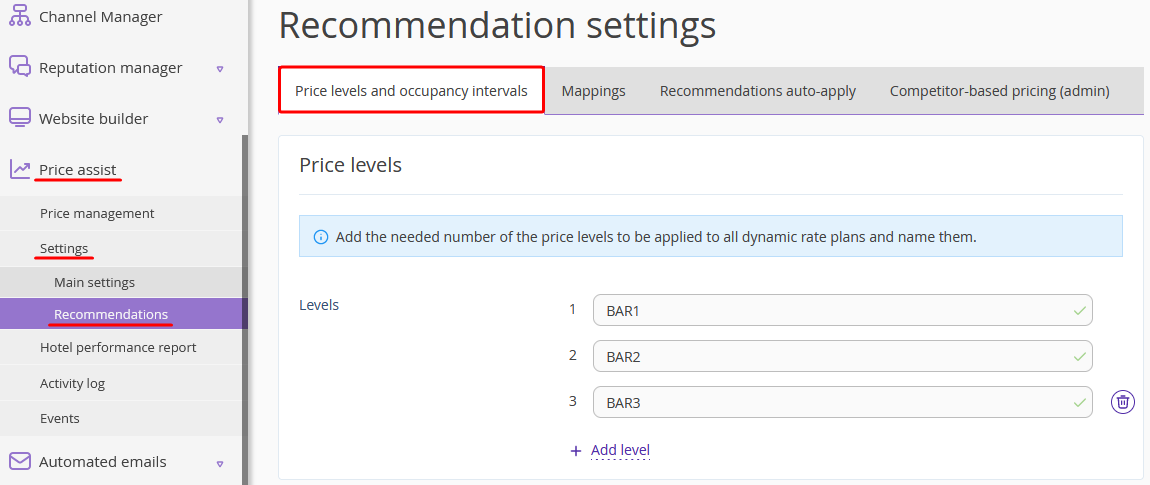
Map source rate plans and price levels are mapped in the “Mappings” tab.
Source rate plans have to be created beforehand, or you can select the previously created rate plans. As a source rate plan, you need to select any kind of rate plan:
Base rate plan
Derived rate plan
Active rate plan
Disabled rate plan
Rate plan without selected points of sale
Let’s take a look at the source rate plan setting:
I. 1. Go to the “Room management” > “Rate plans”. Click on the “Create base rate plan” button.

2. Enter the rate plan name. Website users will see it in the Booking Engine. For example, it can be “Best deal” or “Best deal with breakfast included”.
3. For the type of rate plan, select the dynamic rate plan option.
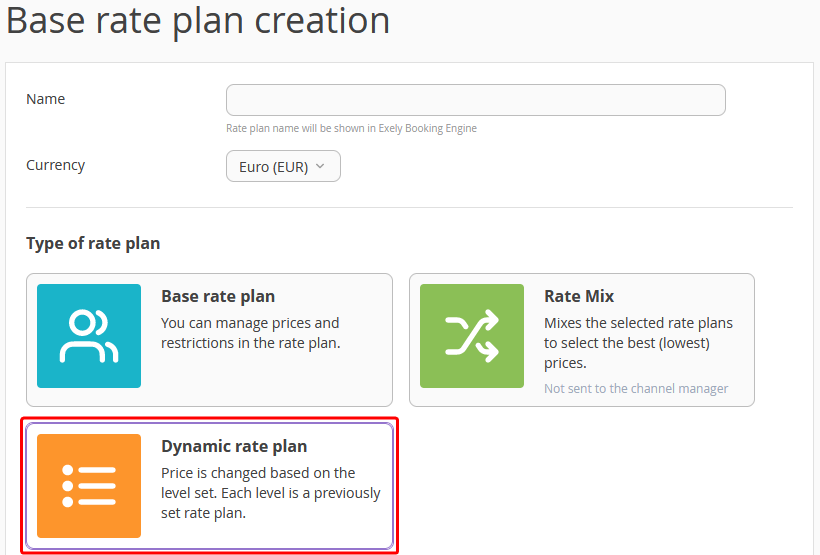
By default, dynamic rate plans are not enabled for all the properties. If you found out that this feature is not available for you, contact your Customer Support manager or Exely Customer Support team.
4. Select the meal service.

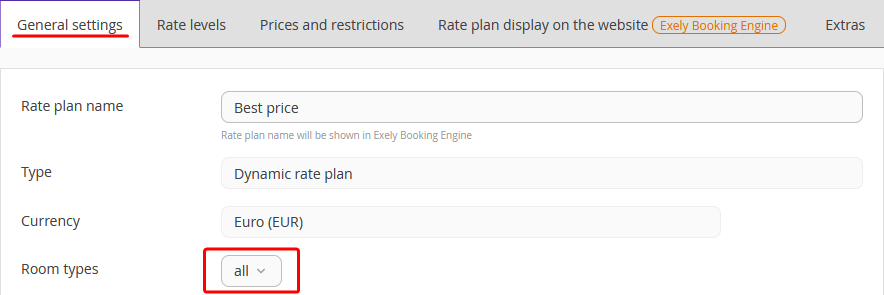
5. In the “General settings” tab, tick the room types that will be offered at this rate plan in the drop-down list.
6. Tick the payment methods that will be offered along with the rate plan.

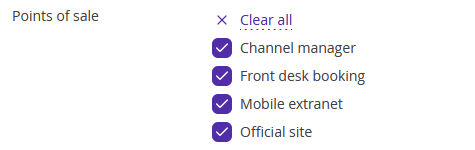
7. Tick the points of sale where the rate plan will be offered. Apart from the “Official site”, tick the “Front desk” for bookings made at the front desk offline and the “Channel Manager” if you plan to offer the rate plan on online distribution channels.
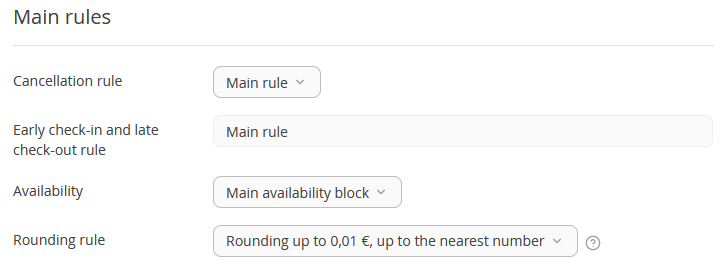
8. In the “Main rules” section, select a cancellation rule and early check-in and late check-out rule.
9. In the “Rate plan display on the website” tab, enter a detailed description of the rate plan.
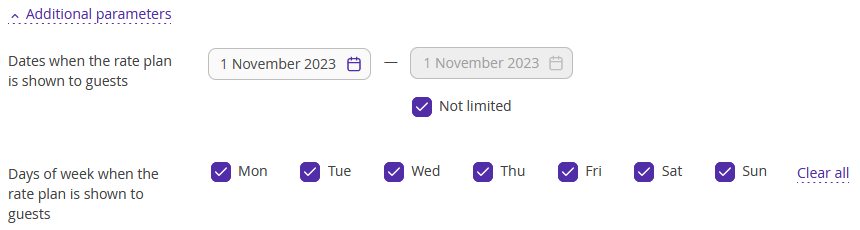
10. Do not limit the rate plan’s display on the website.
11. Click the “Save” button at the top of the page.
II. Open the “Rate levels” tab. Select a rate plan for every rate level.
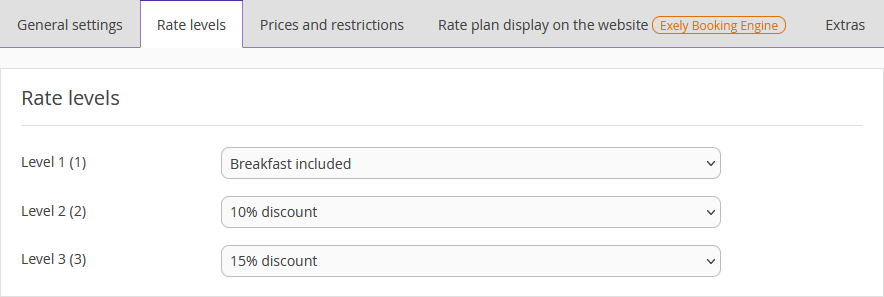
To do this, click the first drop-down list and select a rate plan corresponding to the first rate level. Repeat it for the rest of the rate levels.
III. Complete the rate plan setting.
Open the “Prices and restrictions” tab and set the necessary restrictions. For example, MinLOS (minimum length of stay), MinAdvBooking (the minimum number of days between booking and check-in dates), Closed (Closing sales), and so on.
If necessary, add extra services: both included and not included in the rate plan.
Set a thumbnail for the rate plan.
Note. In the dynamic rate plan, price editing is not available — prices are pulled from the source rate plans.
You can manage prices by going to the “Price assist” > “Price management”.