To add custom script, live chat, or call tracking to Exely Hotel Website Builder, use Google Tag Manager.
Google Tag Manager is a tag management system that lets you add and update tracking codes and other tags on your website without changing its source code.
With Google Tag Manager, you can add:
live chat;
a call tracking system;
ready-made Google Tag Manager integrations;
custom HTML scripts, such as a welcome banner or a pop-up message.
Google Tag Manager supports a wide range of ready-made tag templates. If the integration you need is unavailable, you can create a custom HTML tag.
Pay attention. If you want to install JivoSite, Bitrix24, or HotBot live chat, use the separate article: "How to add online chat in Exely Hotel Website Builder".
How to connect Google Tag Manager
1. Create an account and a container
1. Go to the Google Tag Manager website and sign in with your Google account.
2. On the "Accounts" tab, click "Create Account".
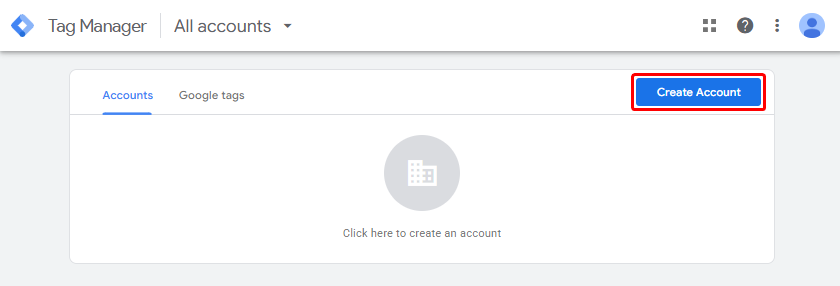
3. The "Add a New Account" page will be opened.
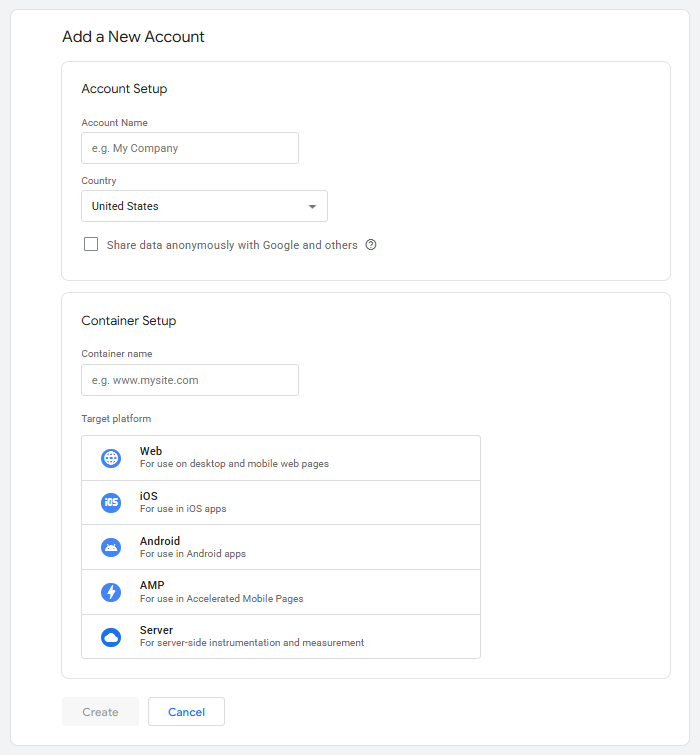
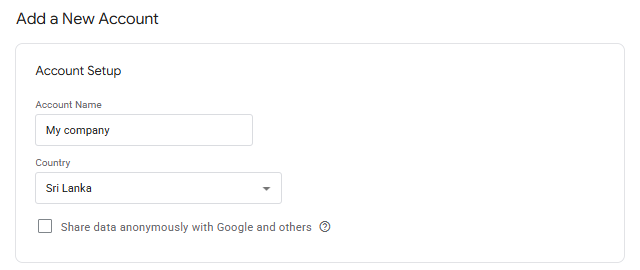
4. In the "Account Setup" section, enter the account name and select the country where the account is located. If needed, enable anonymous data sharing with Google.
5. Create a container. Enter the container name. Under "Target platform", select "Web".
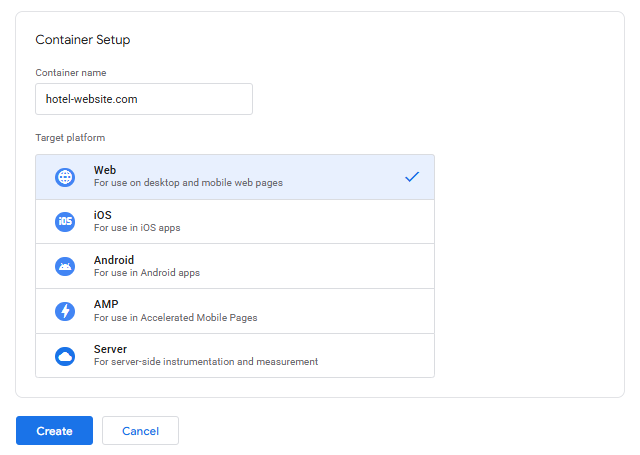
6. Click "Create" and accept the Terms of Service.
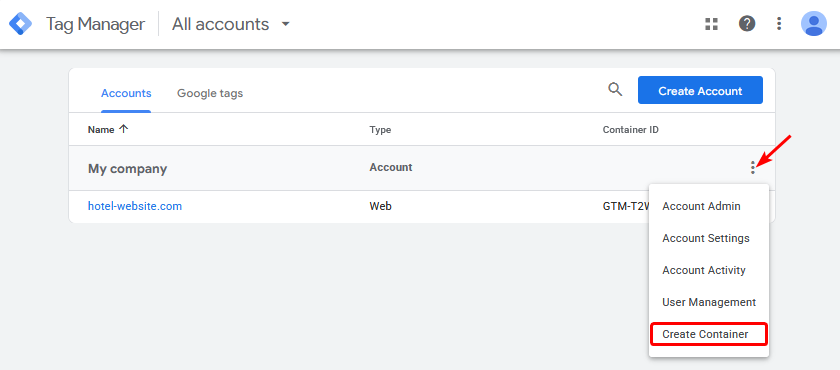
Pay attention. If your company has multiple websites or applications, create another container. To do this, go back to the "Accounts" tab, click the menu button next to the account name, and select "Create Container".
2. Add the container ID to Exely Hotel Website Builder
You do not need to modify your website code. For the tool to work, you will need:
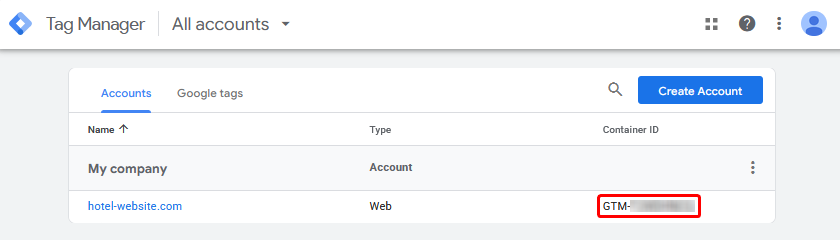
1. In your Google Tag Manager account, copy the container ID from the "Accounts" tab.
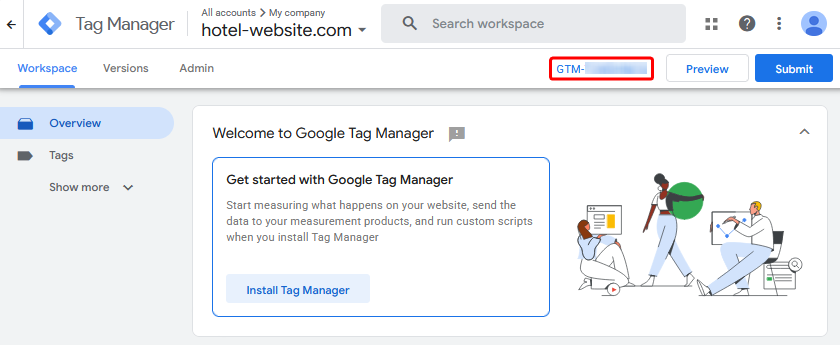
Or from the container page.
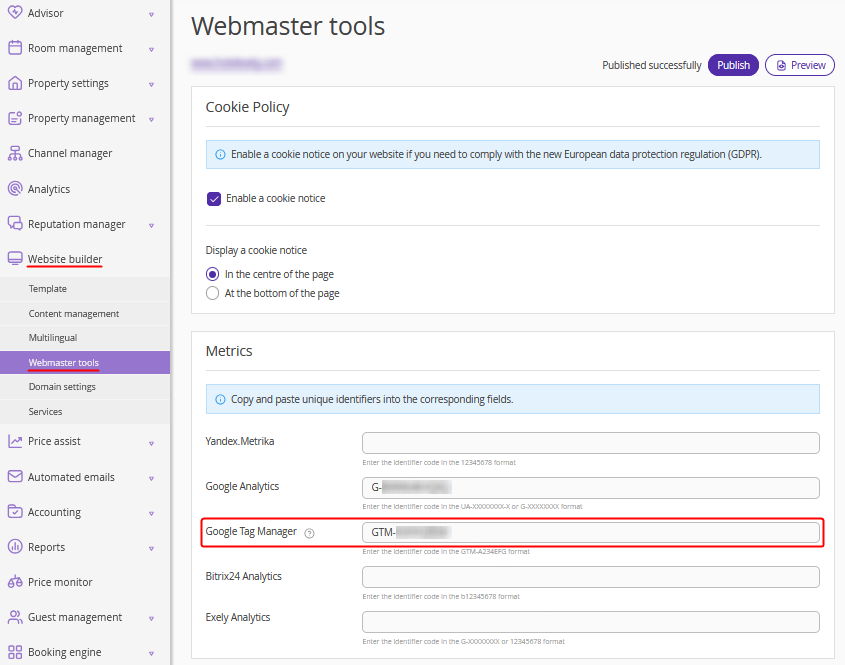
2. In the Exely extranet, go to "Website builder" > "Webmaster tools" > the "Metrics" section and paste the copied container ID into the "Google Tag Manager" field.
3. Click "Save" at the top of the page.
3. Configure tags
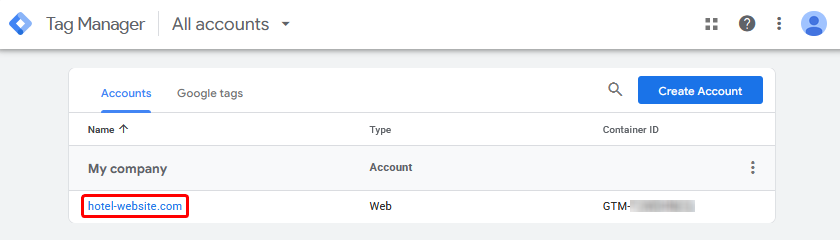
1. Return to your Google Tag Manager account and, on the "Accounts" tab, click the required container.
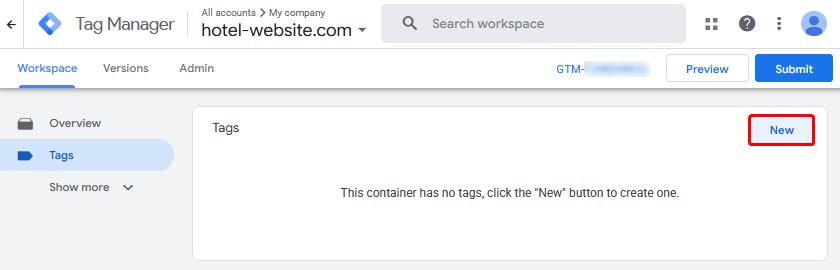
2. On the "Workspace" tab, go to "Tags" and click "New".
3. In the opened window:
Replace the "Untitled Tag" text in the top left corner with your tag name.
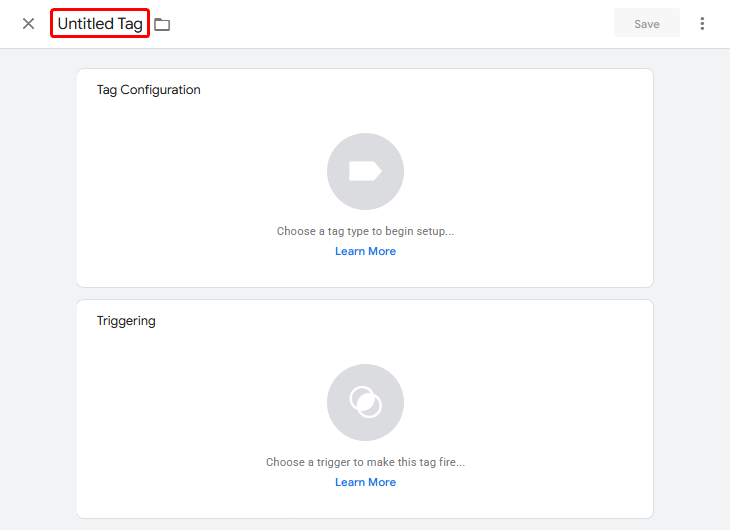
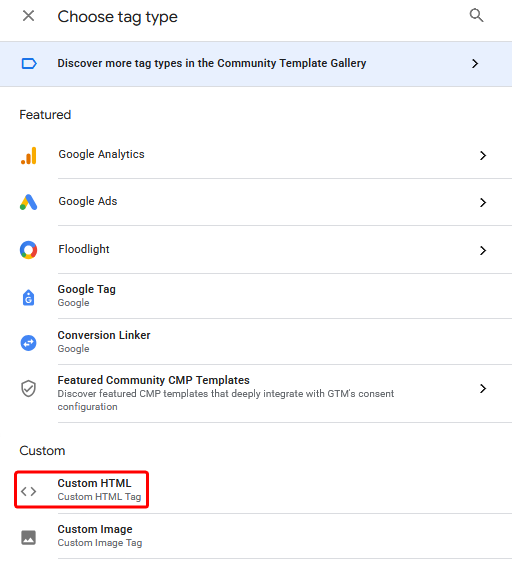
Click the "Tag Configuration" section and select the tag type.
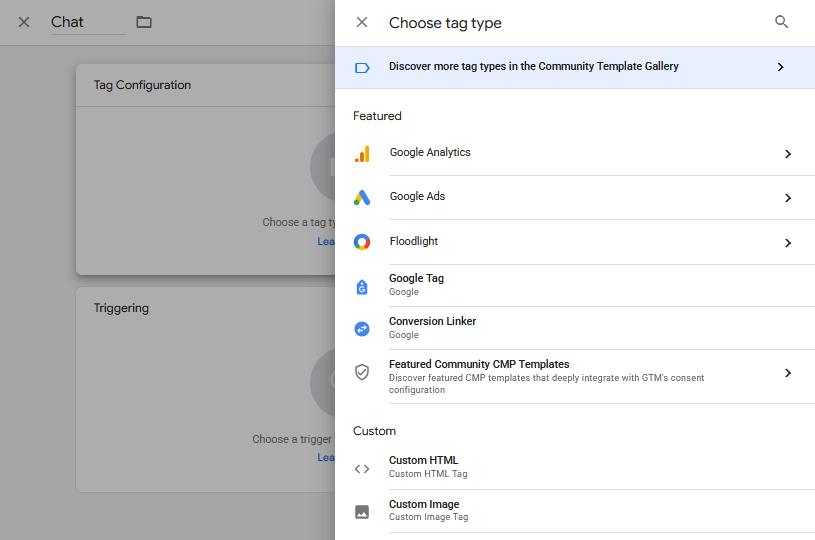
If you are creating a custom tag, select "Custom HTML" and paste the HTML code.
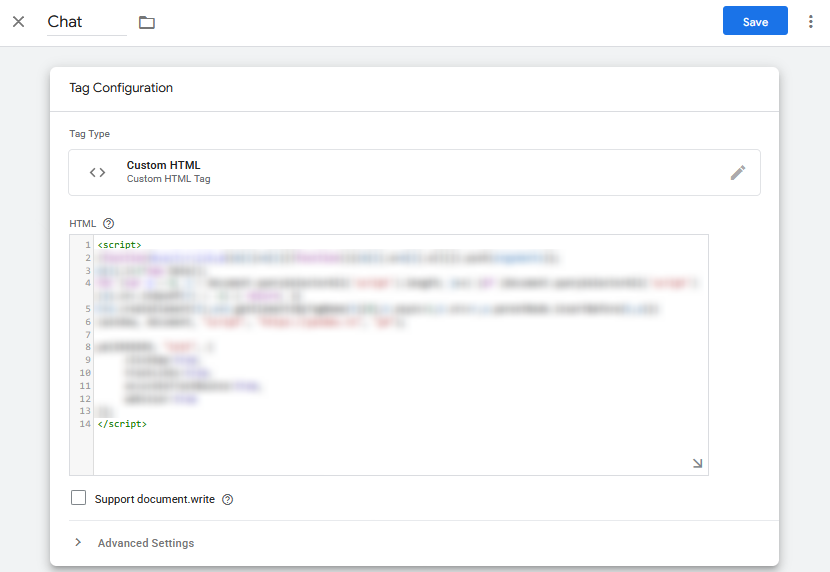
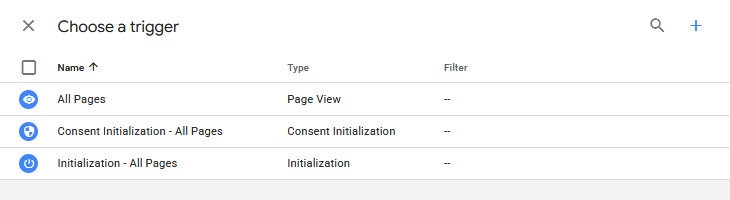
Click the "Triggering" section and select one of the available triggers, or create a new one by clicking the "+" button in the top right corner.
Click "Save".
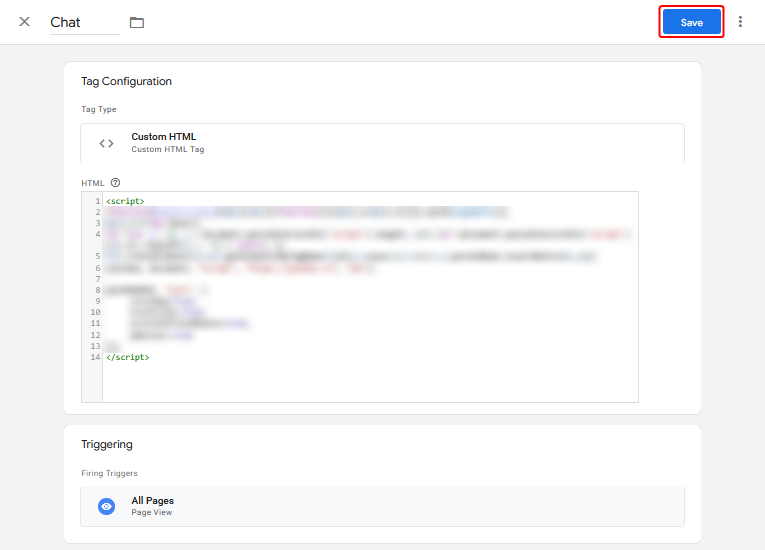
4. On the "Workspace" tab, select the created tag from the list and click "Submit".
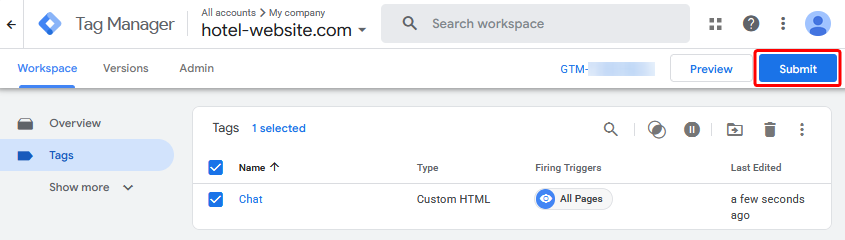
In the opened window, enter the version name and description, then click "Publish".
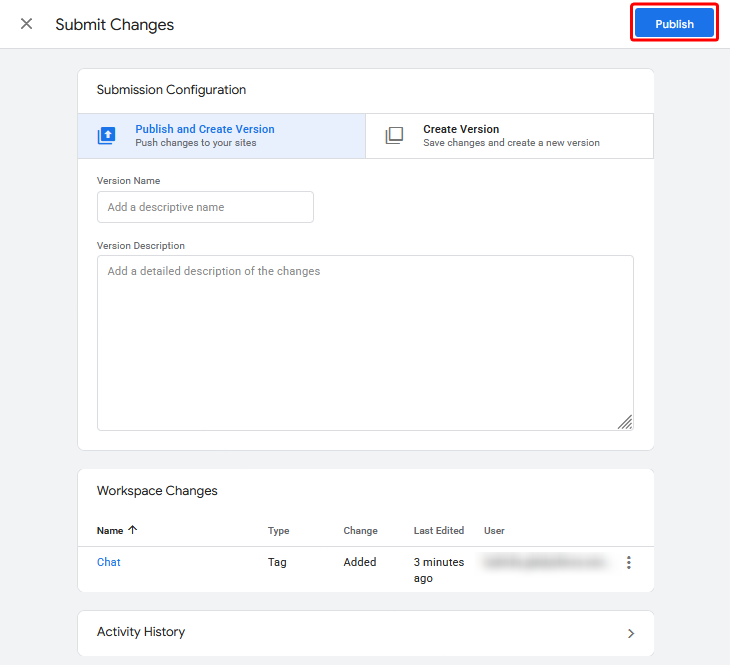
The "Versions" section will be opened, where you can view the status of the created tag and all its versions.
For detailed instructions, see the Google Tag Manager documentation.
4. Publish the website
Return to the Exely extranet and click "Publish".
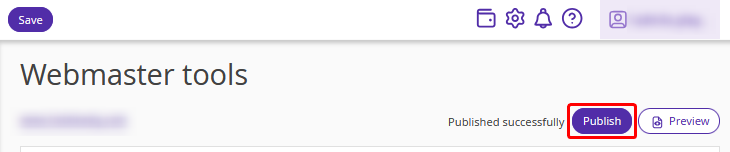
After publishing, the changes will appear on your website.
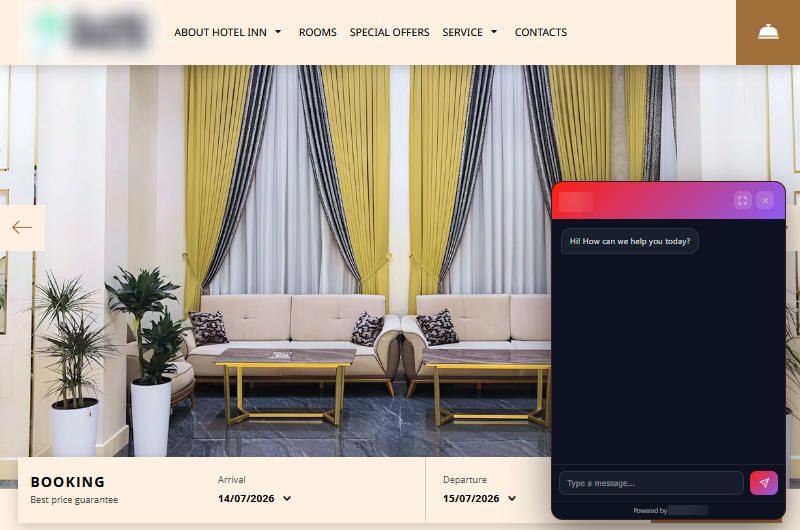
If the changes are not visible immediately (for example, the live chat does not appear), try one of the following:
refresh the page by pressing F5;
clear the browser cache;
open the website in Incognito mode.
Pay attention. Changes may not appear immediately because the cache may take some time to update.