To quickly get started working in Exely PMS, import bookings from your previous PMS (property management system, hereinafter — PMS). This will save time on manual entry and preserve historical booking statistics.
Before import
1. Before importing, create room types and add physical rooms in Exely PMS following the instructions: “How to create room inventory in Exely PMS”.
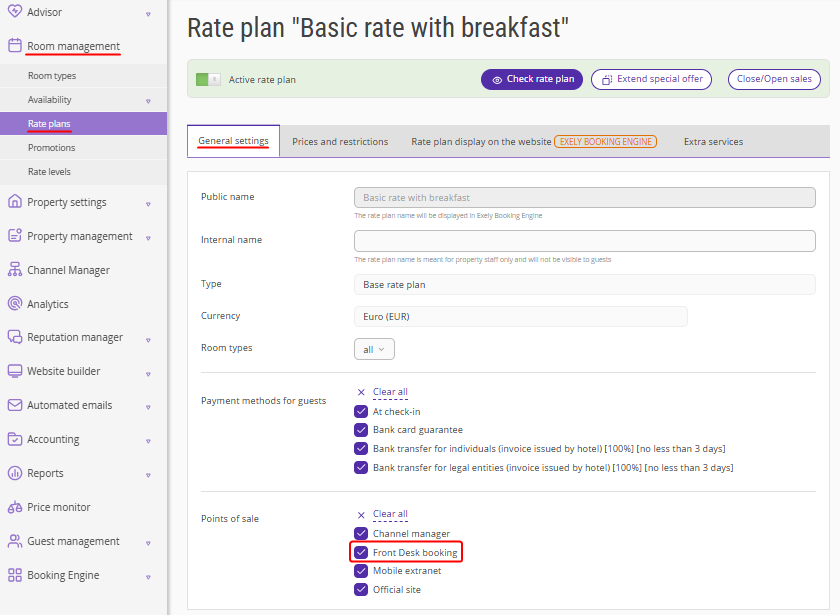
2. In rate plans for Exely PMS, specify the point of sale "Front Desk booking". To do this, go to "Property management" > "Rate plans", select the required rate plan and switch to the "General settings" tab. In the "Points of sale" section, select "Front Desk booking". Save the changes.
3. To ensure imported bookings are automatically assigned to rooms in Front Desk, enable the setting "into any available room automatically" following the instructions: "How to set room assignment for new bookings in Exely PMS".
Import from PMS
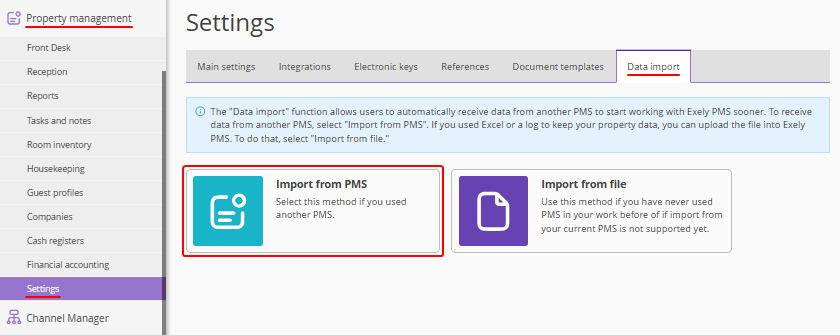
1. If you import bookings from Bnovo PMS, go to "Property management" > "Settings" > the "Data import" tab. Click "Import from PMS".
2. Download the archive from Bnovo PMS, upload it in zip format (archive file format), and click "Continue".
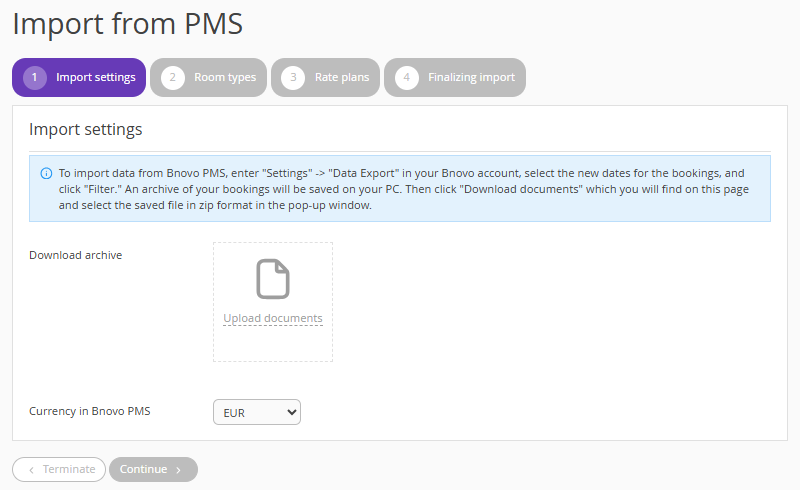
If the booking status in the Bnovo PMS file is "Canceled", it will not be uploaded to Exely and will not be included in occupancy statistics.
3. After uploading the file, map room types and rate plans between Exely and Bnovo, then complete the import.
Import from file
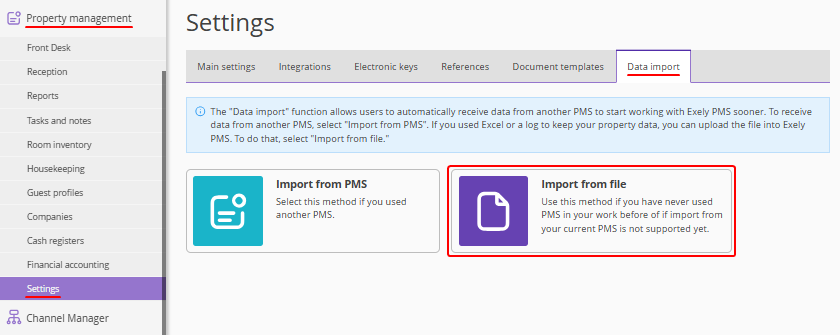
1. Go to "Property management" > "Settings" > the "Data import" tab. Click "Import from file".
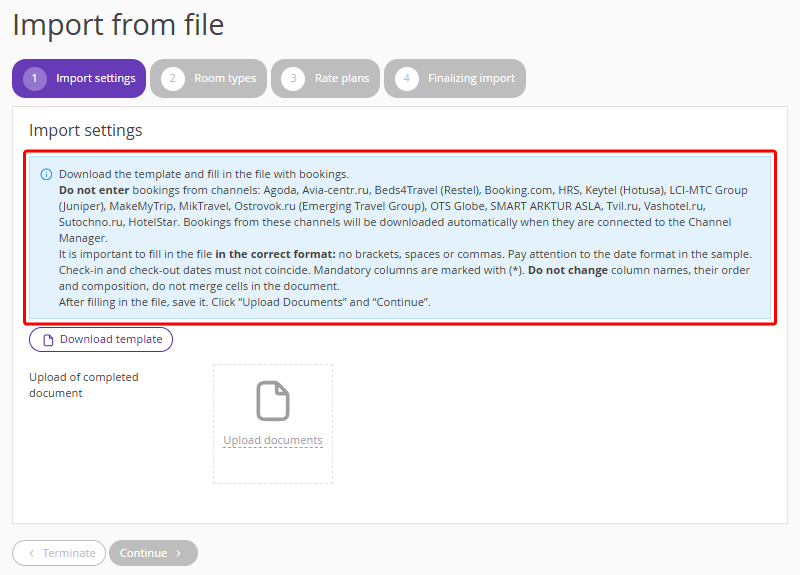
2. The import setup window will be opened. Review the instructions for filling in the file with bookings from PMS.
For some sales channels, bookings do not need to be entered — they will be imported automatically when the channel is connected.
Pay attention. Read the hints highlighted in color at each step of the import — they contain important information for correct import.
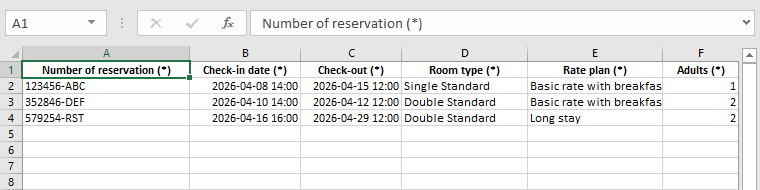
3. Download the template — this is an Excel file (spreadsheet format, hereinafter — Excel).
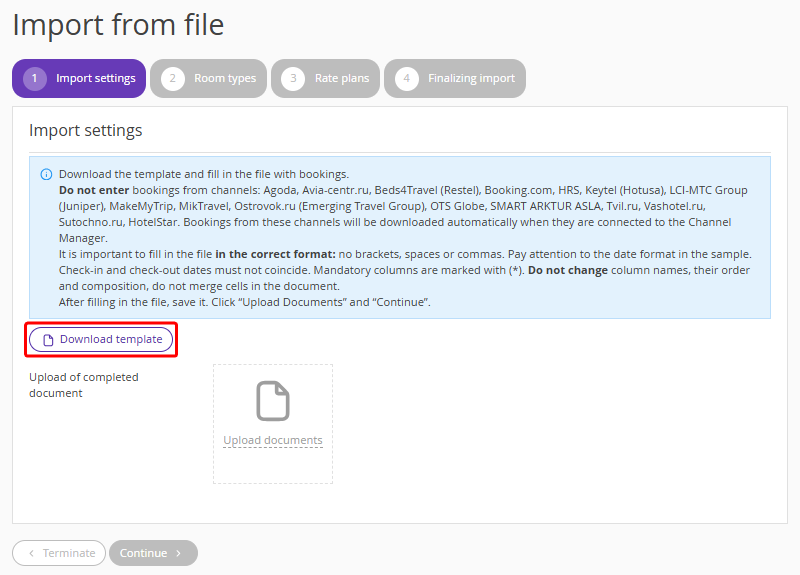
Fill in the file with bookings for import. Columns marked with * are mandatory. Do not change the names, order, or structure of the columns.
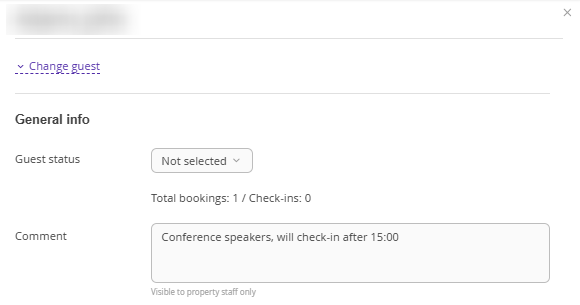
Note. Comments from the "Comment" column will appear in the guest profile after import.

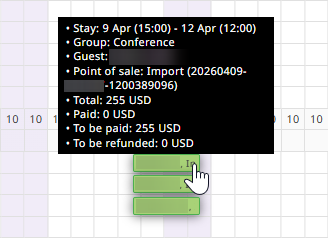
For group bookings, specify the group name in the import file.
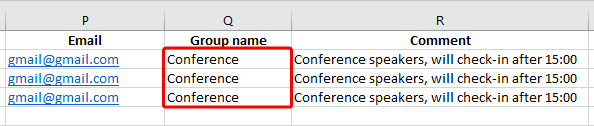
All bookings with the same group name will be merged into a group booking. Therefore, we recommend not using identical names for different groups.
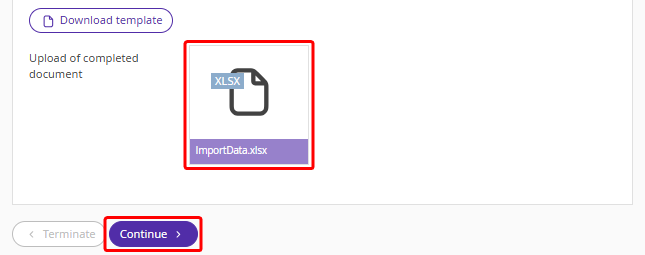
4. Upload the completed file and click "Continue".
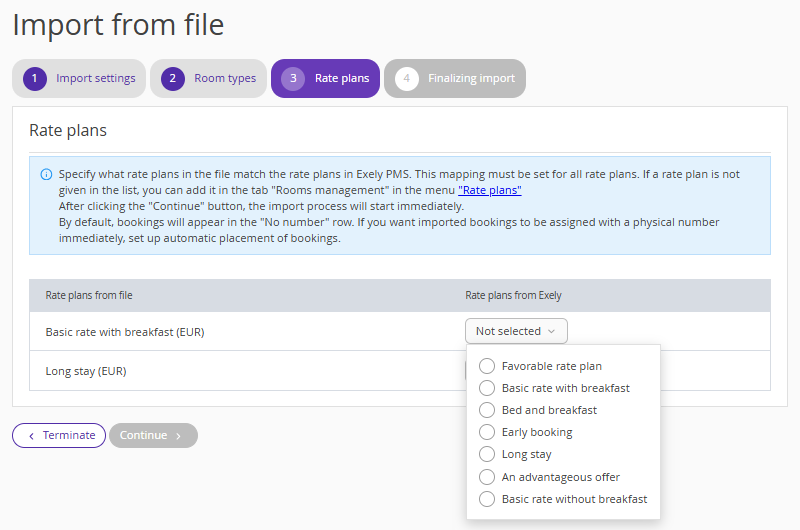
5. Map room types from the file to those in Exely so bookings are imported into the correct room types. Click "Continue".
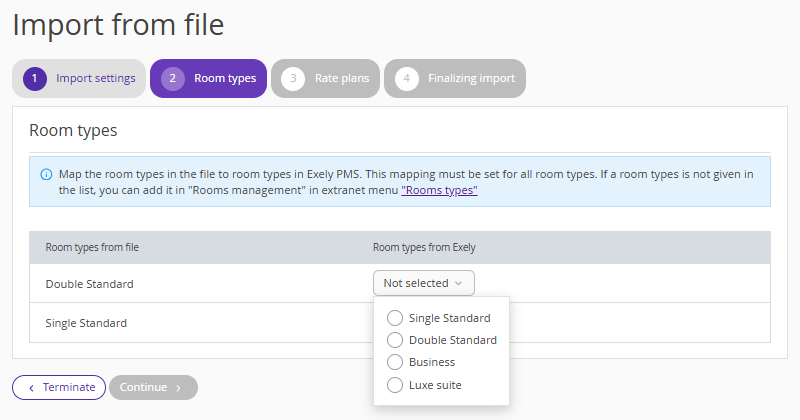
Note. In the "Rate plans from Exely" column, only rate plans with the selected point of sale "Frond Desk booking" will be displayed.
7. The booking import will begin. While the import is in progress, you can work in other sections of the Exely extranet.
When the import is complete, click "Done".
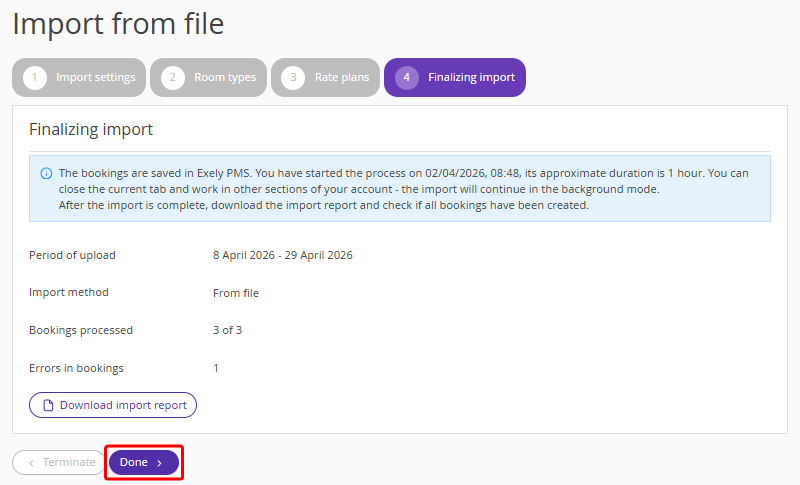
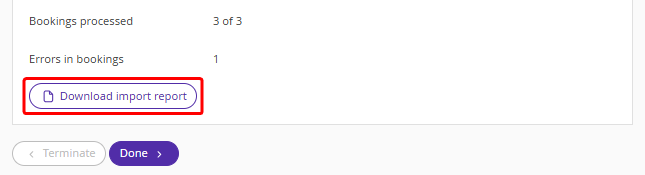
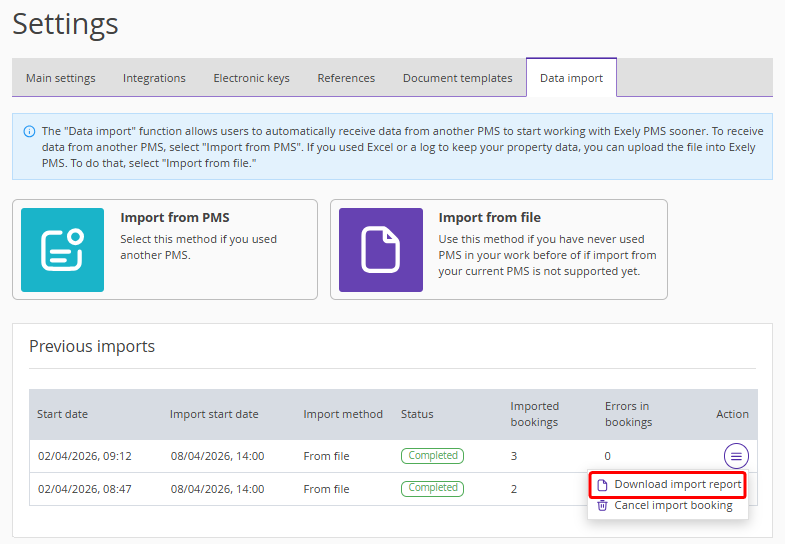
You can download the import report before clicking “Done” or afterwards on the "Data import" tab. The report shows the results of the booking import — successfully uploaded bookings and errors.
Import report
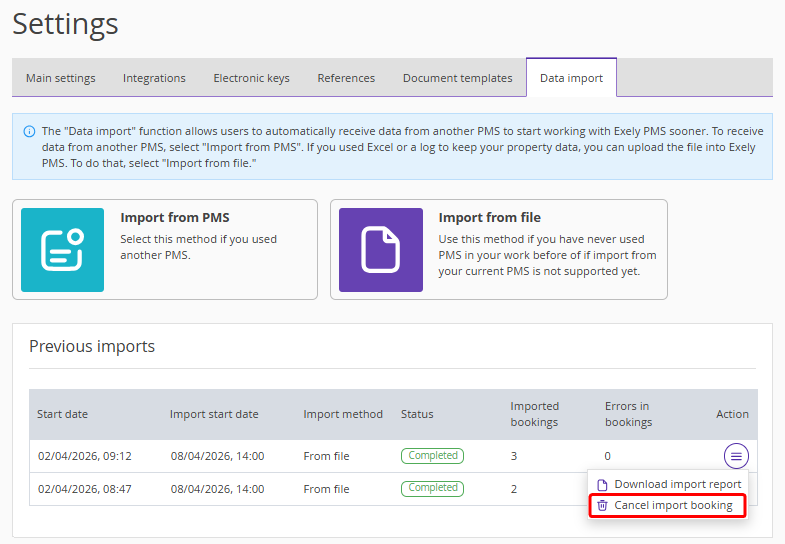
Imported files are displayed in the "Previous imports" section.
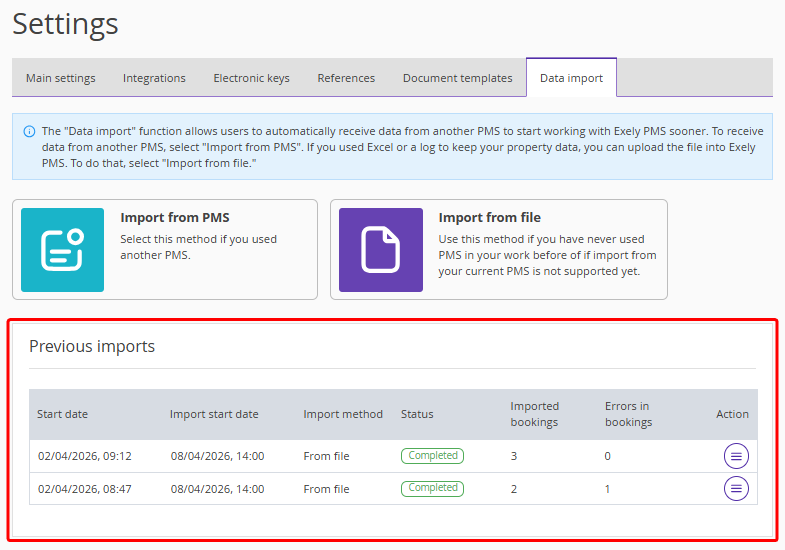
The section contains the following data:
Start date — the date the file was uploaded and the import started.
Import start date — the earliest check-in date among bookings in the report.
Import method — how the bookings were uploaded.
Status:
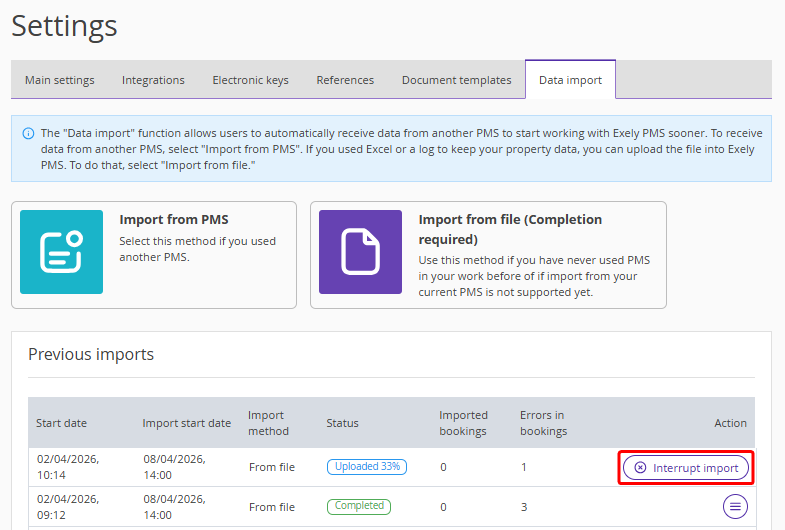
Uploaded n% — import progress. Shows how much data has been imported.
Completed — import successfully finished.
Interrupted — import was stopped by the user.
Canceled — all bookings created in the Exely PMS calendar as a result of the import were canceled.
Imported bookings — the number of bookings imported to Exely PMS.
Errors in bookings — the number of bookings that failed to import.
A report is generated for each import. To view it, click "Action" > "Download import report".
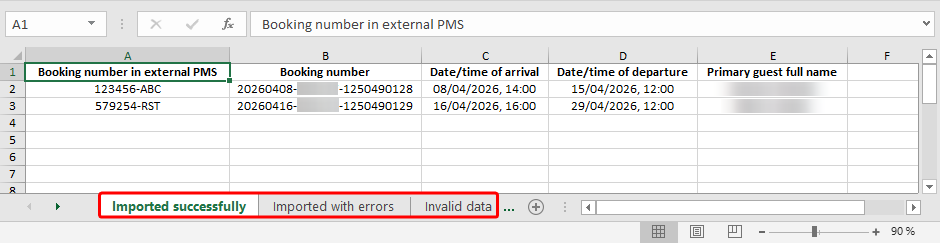
An Excel report file with three tabs will be downloaded:
Imported successfully — bookings saved in Exely PMS.
Imported with errors — bookings not saved in Exely PMS, with reasons for failure.
Invalid data — description of errors in the import file, indicating the cell (row and column) with the issue. For example, the following fields are missing: guest’s last name, booking number, price, currency, check-out date and time, etc.
What to do if bookings were not imported
1. Check the “Imported with errors” and “Invalid data” tabs.
2. Fill in the template with bookings that were not imported and fix the error rows.
3. Start the import again.
How to stop the import
If the import is not yet completed, you can stop it.
1. In the "Previous imports" section, click "Interrupt import".
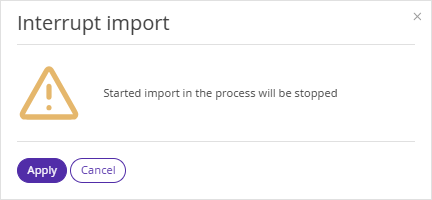
2. In the opened "Interrupt import" window, click "Apply".
Pay attention. If you cancel the import, bookings are saved as canceled: they disappear from Front Desk but remain in "Reports" > "Bookings". To re-import them, you need to change the booking numbers, as duplicates are not saved.
How to cancel imported bookings
You can cancel all bookings from a completed or canceled import.
1. Click the "Action" button and select "Cancel import booking".
2. Bookings will be canceled in Exely. Cancellation notifications are not sent to guests.
You can also cancel imported bookings manually in Front Desk:
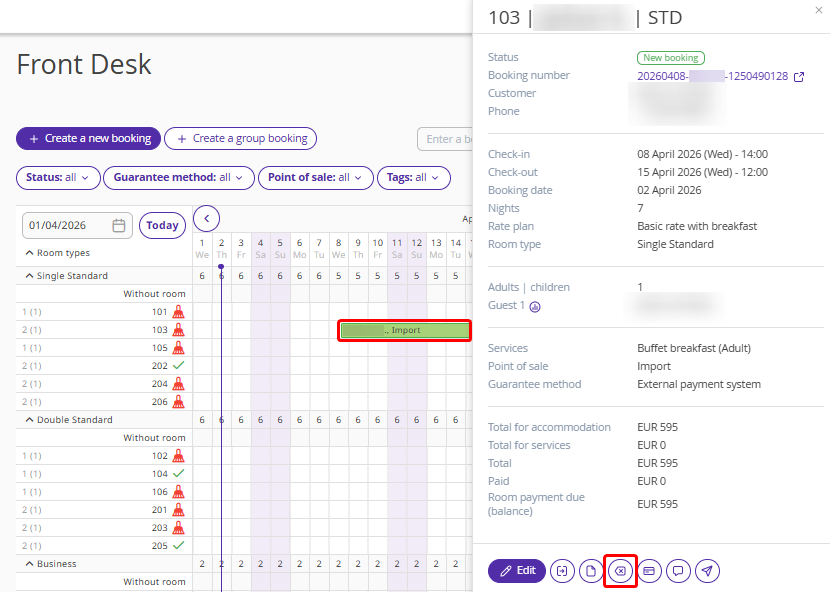
1. Go to "Property management" > "Front Desk" > click the required booking.
2. In the quick booking view window, click "Cancel".
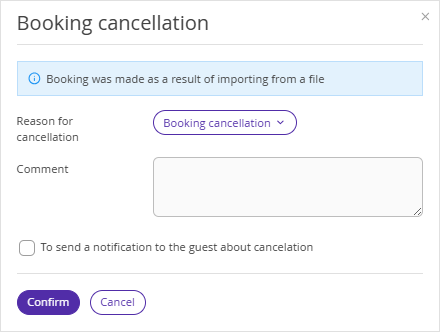
3. In the opened "Booking cancellation" window, click "Confirm".
Guest notifications are not sent automatically. If needed, tick the check-box "To send a notification to the guest about cancellation".
Import features
1. The import file must strictly follow the format; otherwise, bookings will not be imported. We recommend adding no more than 1000 bookings per file.
2. If there is a group booking in the PMS, each stay must have a unique booking number in the import file. Other data may match, but booking numbers must differ.
3. Modifications from channels and Exely Booking Engine are not received for imported bookings.
4. During import, availability is not selected for early check-in and late check-out. After import, set the correct number of available rooms following the instructions: "How to manage availability if you use Exely PMS".
5. In Front Desk, new bookings are distributed by room types. They will appear in the "Without room" line and rooms must be assigned manually.
However, if the option to add bookings into any available room automatically is enabled before import, rooms will be automatically assigned for bookings with current and future check-in dates.
This setting does not apply to imported bookings with past check-in dates — rooms must be assigned manually for them.
6. Companies are not imported into the “Companies” reference.
7. Hourly bookings are not supported for import and must be created manually.
8. When import is canceled, bookings are saved as canceled. They disappear from Front Desk but remain in "Reports" > "Bookings".
Pay attention. If you import these bookings again, make sure to change the booking numbers, as duplicates are not saved.
9. Services in bookings are not imported and must be added manually.
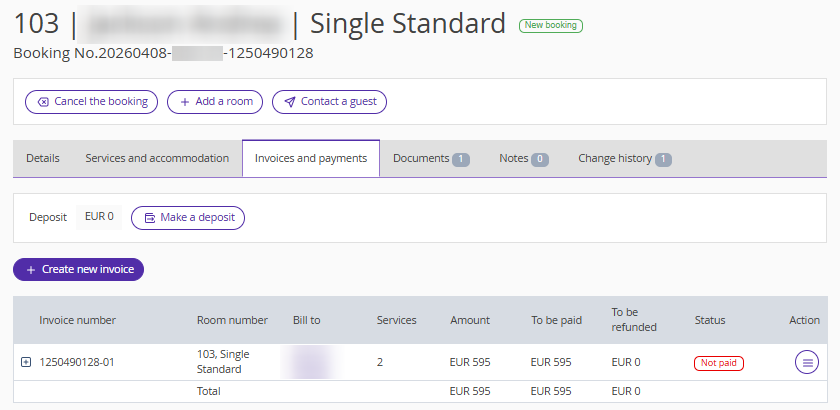
10. Depending on the difference between the booking amount and the amount specified in the Excel file in the "Paid" column, the booking in Front Desk may have one of the following statuses: "Paid", "Partially paid", "Unpaid", "Refund".
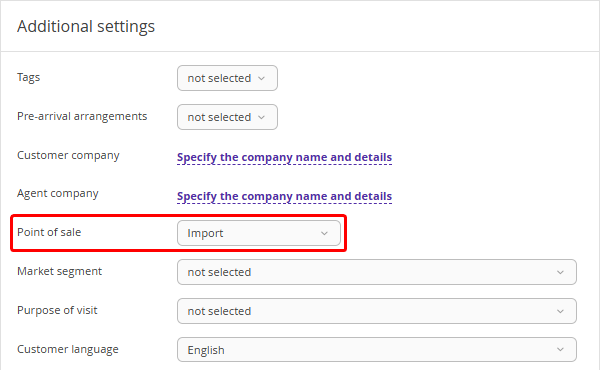
11. The point of sale for imported bookings will be "Import". If necessary, you can change the point of sale manually.
12. Check for bookings from channels in Front Desk.
Some channels automatically import bookings with future check-in dates that were created before connecting to Exely Channel Manager.
To check whether a channel supports booking import, go to "Channel manager" > select the required channel and switch to the "Channel features" tab. There, check the "Bookings import" option.

To avoid duplicate bookings, make sure the import file contains only bookings from the front desk and website. Exclude bookings received via channels that support automatic import.
Channels may have specific import behavior. For example, when connecting the "Ostrovok.ru (Emerging Travel Group)" channel, only bookings created within the last 60 days are imported. Earlier bookings will not be imported.
If bookings were not imported automatically, add them manually: include them in the import file or create them manually in Front Desk.