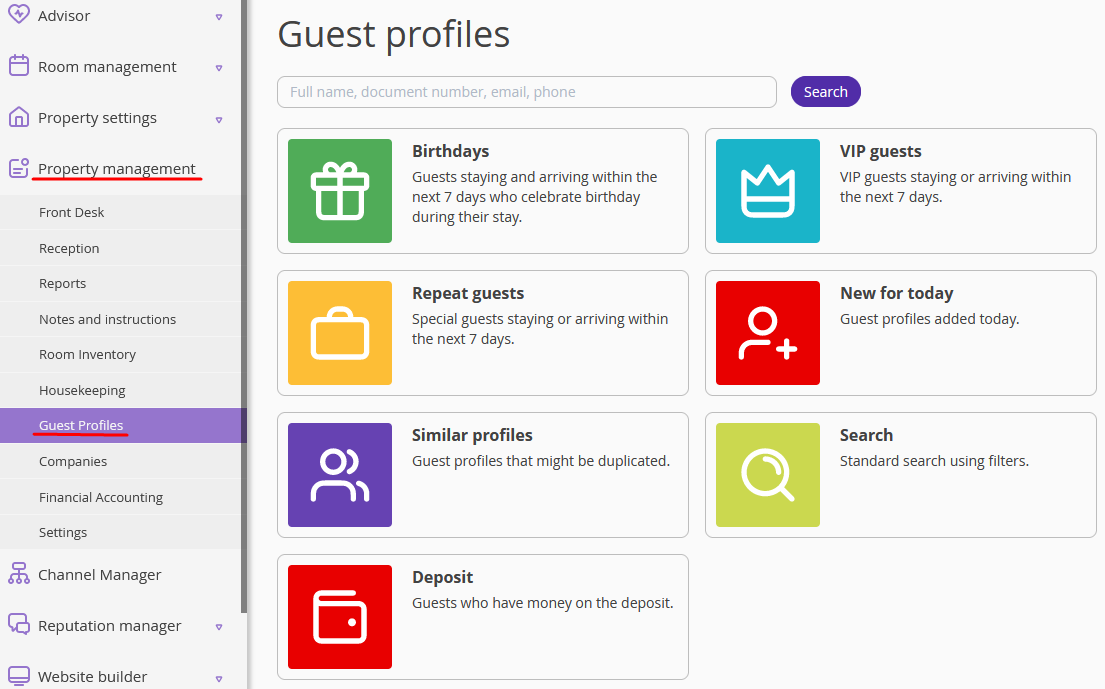
1. In the “Property management” section, open the “Guest Profiles” page.
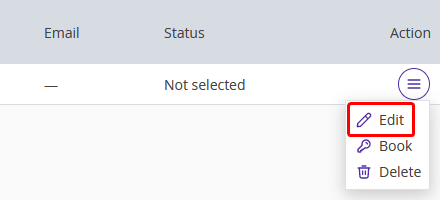
2. Select a guest. Click on the “Action” button, then on the “Edit” button.
3. A guest profile page will be opened. Select a status in the "Guest status" field, then click “Save”.
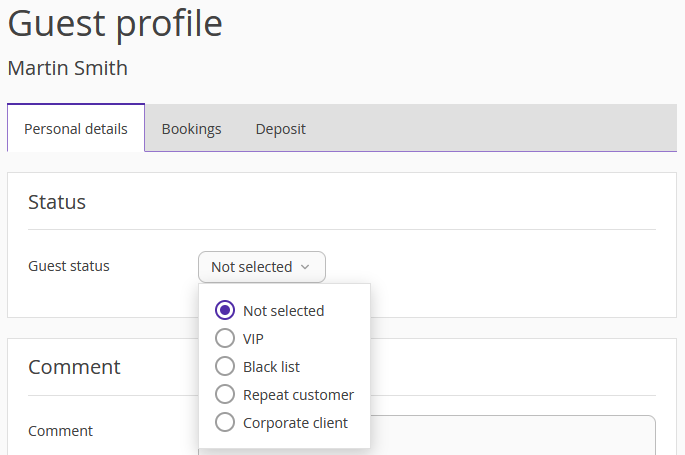
There are 4 statuses available by default:
VIP
Black list
Regular customer
Corporate client.
You can create your own statuses in the “Guest status” reference book.
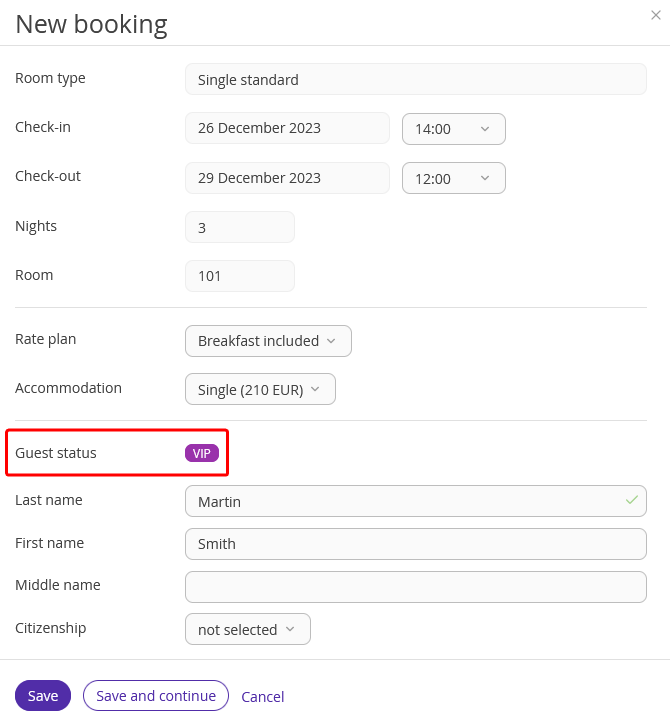
When creating a booking in the tape chart, you will see the guest’s status in his/her profile.