Welcome-emails are sent to guests a couple of days before arrival date. It is meant to remind guests about the stay, booking details, cancelation terms and other additional information.
In order to set the template of the “welcome-email”:
1. In the Exely extranet, go to “Automated emails” > “Mail list”.
2. In the “Mail type” column, click “Welcome” email.

3. By default, the page will be opened in the Exely extranet language. To set the email template in other languages, select the required language at the top of the page.

4. Specify the sender and subject of the email. In the “From:” field, use the #PropertyName# autofill so that the property name appears in the sender line. The default email subject line is “#PropertyName#. Booking reminder.”, you can change the text if you wish.

5. In the “Color” section, select the template color. There are 15 colors available for selection.

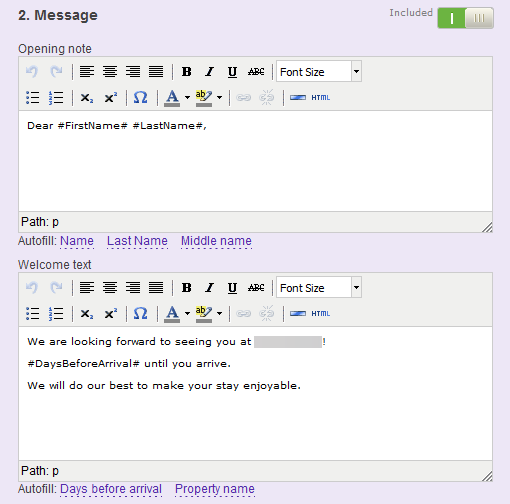
6. In the “Message” section, fill in the “Opening note” and “Welcome text” boxes with text of your choice. Use autofill for convenience.

For details on how to add links and images to your email text, refer to the instruction "How to insert a link or an image to welcome or feedback email".
7. Enable the “Weather forecast” option to insert the weather forecast for the week of arrival.

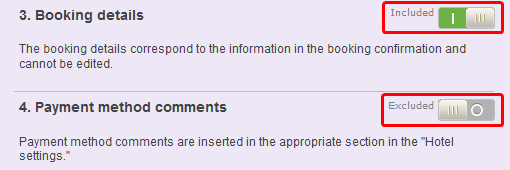
In order to enable/disable any section of the template, use the “Included”/ “Excluded” slider.

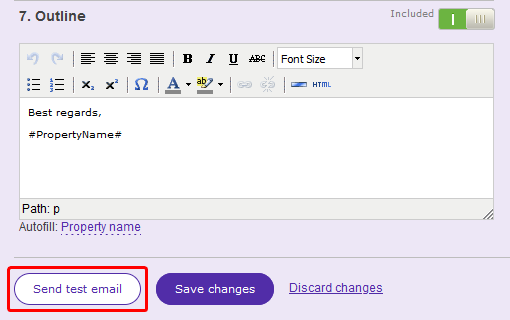
8. Add the signature and save the changes. To check the text before sending it to guests, click “Send a test email”. Enter your email address.

To learn more about the email template editor, see the instruction «How to edit an email template for email newsletter».
9. Go back to “Automated emails” > “Mail list”. Tick the points of sale that the welcome-email is applied to. If needed, change the number of days in the “Send to the guest” column.
