Extra services that you create in the “Property settings” > “Extra services” section can be easily added to the website created in Exely Hotel Website Builder. Moreover, the website allows you to tell guests in detail about the different areas of service: medical treatment, spa, conference halls and excursions.
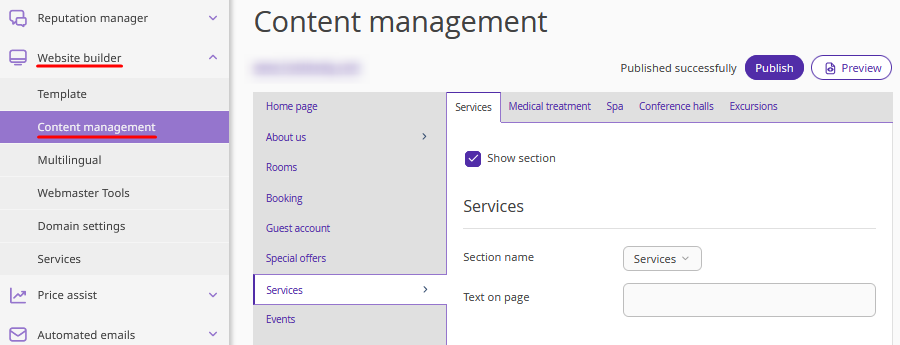
Go to “Website builder” > “Content management” > the “Services” section. The section might have a different name, depending on what option you selected on the “Services” tab.
1. Tick the “Show section” check-box. Select the “Item name” and provide the short description for the section.
Services
On the “Services” tab, upload services from the “Property settings” > “Services” section.
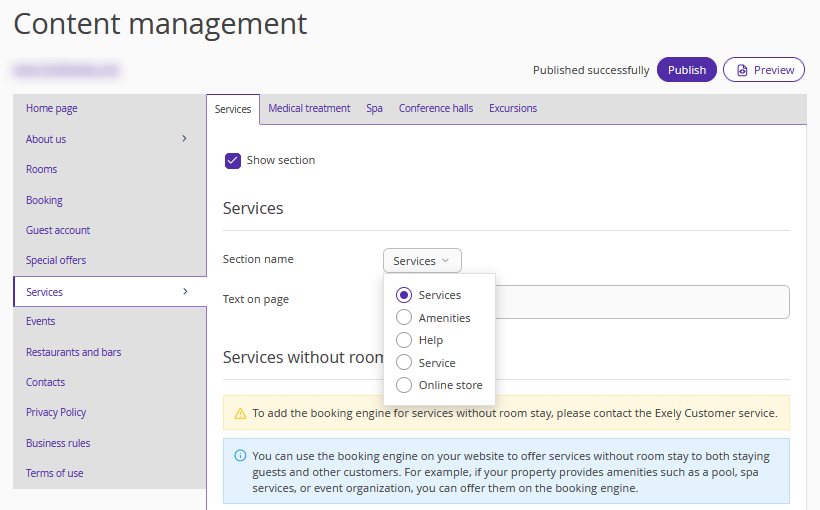
1. Tick the “Show section” check-box, select the section name and add a short description.
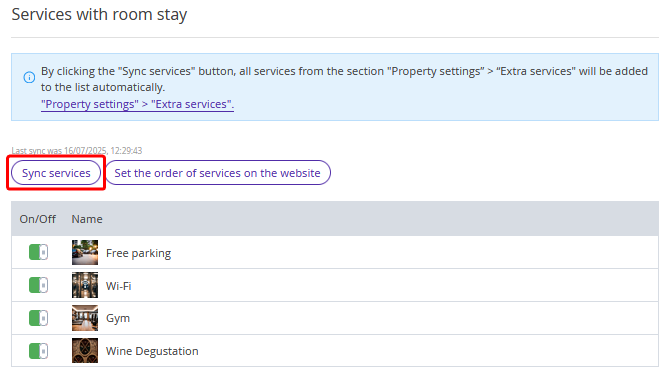
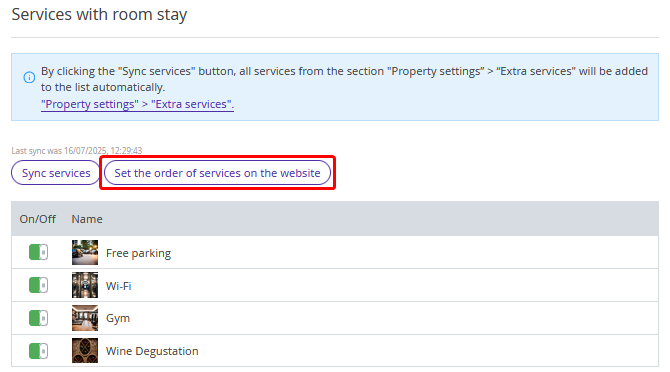
2. In the “Services with room stay” section, click the “Sync services” button.
The list of services will be loaded from the “Property settings” section. For a service to appear in the list, Exely Booking Engine should be selected as a point of sales in the service settings.
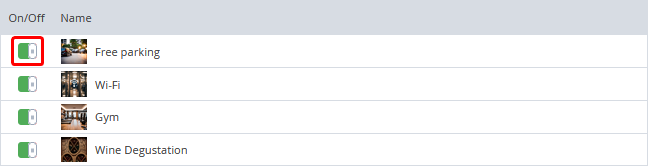
To enable or disable the display of a service on the website, click the switch on the left of the service name.
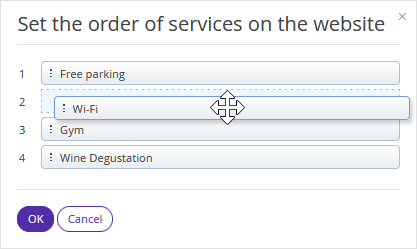
You can change the display order of services on the website, if you like. To do this, click “Set the order of services on the website”.
In the pop-up window, left-click a service name, drag and drop it where it should be. Then, click the “OK” button.
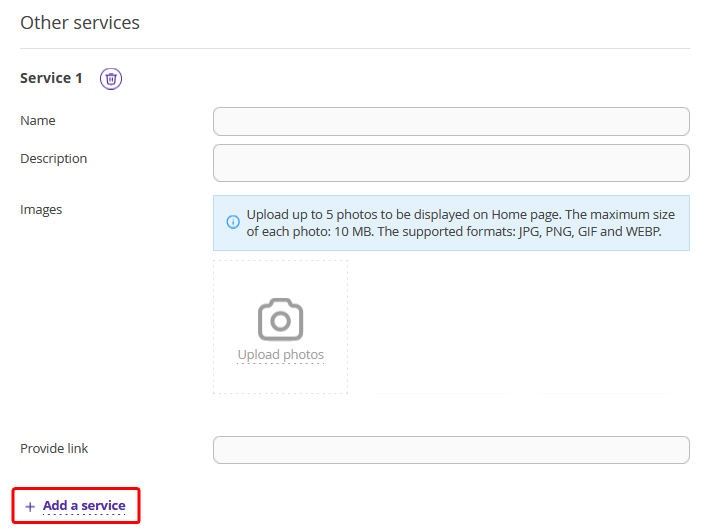
3. In the “Other services” section, add other services that you offer at your property. For example, inform your guests about complimentary amenities like Wi-Fi, free parking, etc. so guests are aware of all the benefits your property offers.
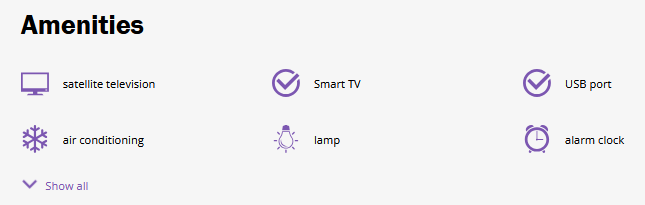
4. You can also add room type amenities to the website.
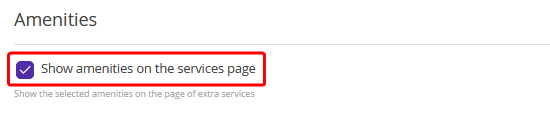
If this check-box is ticked, all types of amenities selected in the room type settings will appear on the website below the list of services.
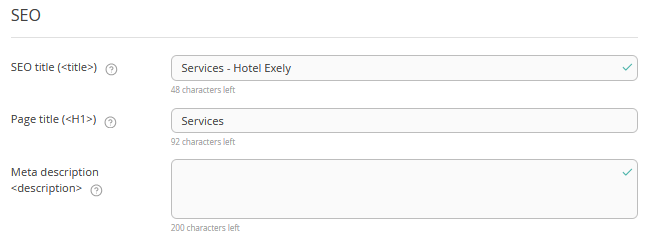
5. Complete the SEO section to optimize your website for search engines. See the article “Website SEO in Exely Hotel Website Builder” for details.
In this section, you can set the page title in the “Page title” field, which will then be displayed on the website.
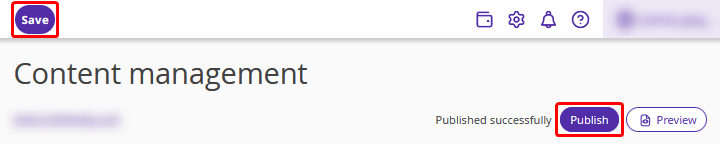
Once all required information is added, click the “Save” button at the top of the page and publish the website.
Before publishing, you can check how the changes will appear on your website using the “Preview” button. Learn more in the article “How preview works in Exely Hotel Website Builder”.

To publish new information to the website, save the changes and click the “Publish” button.
If you have a separate extranet for selling services without room stay or for selling gift cards, synchronize it with the website created in Exely Hotel Website Builder in the "Services without room stay" section.
To have the ability to add services without room stay to the website, contact your Customer Support manager or Exely Customer Support team.
After connecting the services booking engine for selling services without room stay, click the “Sync the engine” button to upload available services.
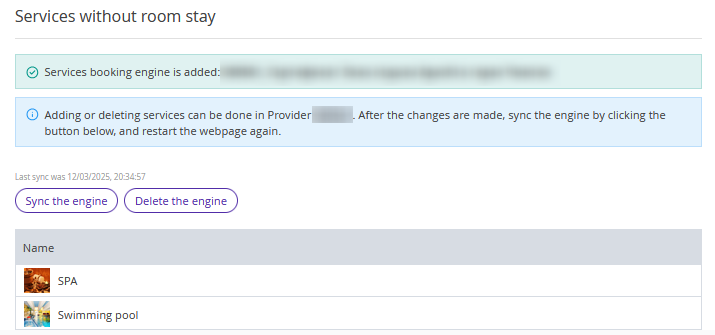
The services with room stay will be shown after the services without room stay and certificates.
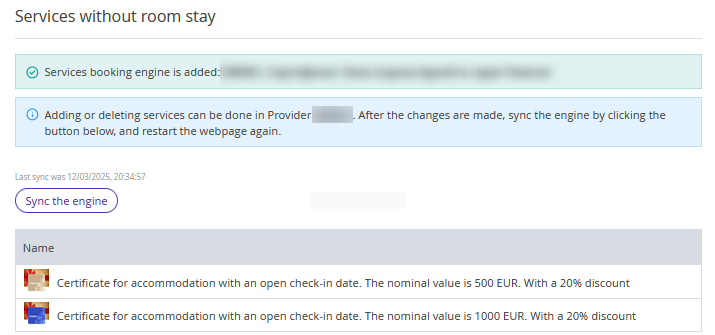
If you use a separate extranet for selling certificates, after connecting the certificates booking engine, click the “Sync the engine” button to upload available certificates.
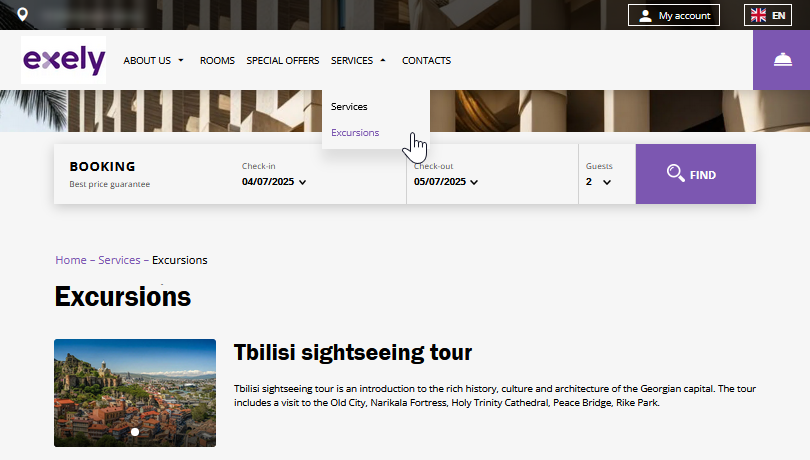
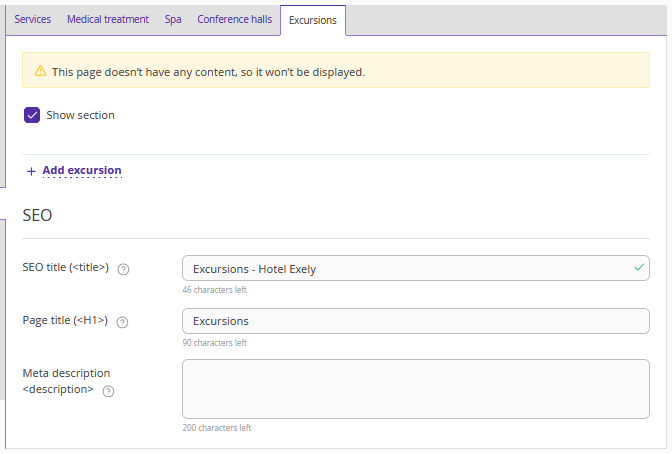
Medical treatment, spa, conference halls, excursions
In the “Services” section, you can share details about different service areas: medical treatments, spa, conference halls, and excursions. This will help guests quickly find the required information.
1. Switch to the required tab and tick the “Show section” check-box.
2. Click the link for adding a service. Enter the service name and description, upload photos.
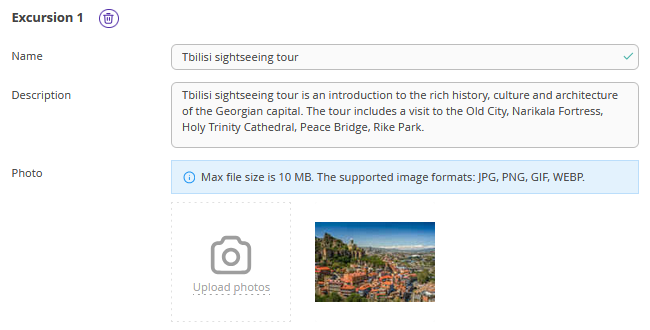
3. Upload price lists, event terms, and other documents in PDF format. Guests will be able to download these documents directly from your website.
4. Publish the changes.

Added information will be displayed in the “Services” section of your website: